Shop Floor Production Update
Important Attention Points
The new Custom Connector is configured using environment variables. One of the environment variables, fdw_ClientSecret_KeyVault is a secret that must be stored safely instead of in plain text in the variable value. This is done by storing the secret value in a Key-Vault that has to be setup first. To integrate the Power Apps environment with Key-Vault, it must be set up to get the ClientSecret from the Key-Vault and sign in by using the OAuth flow for the Custom Connector.
Upgrade Workflow Details
Follow the instructions in the predefined order along with the given details to upgrade your environment currently running Shop Floor Production Power Appsv.1.3.0.0 to the new v.1.4.x version.
-
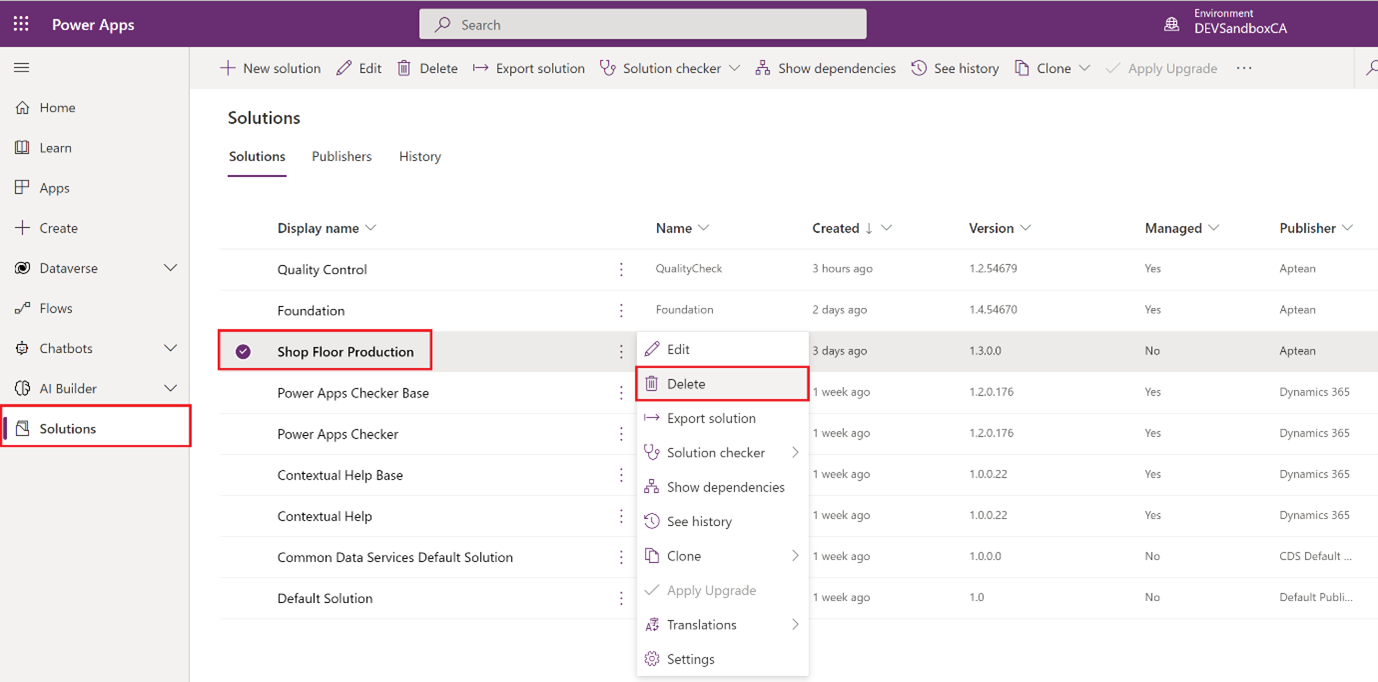
Delete the Shop Floor Production Unmanaged Solution from your environment.
-
Manually delete the three Shop Floor Production apps via Apps in the menu.
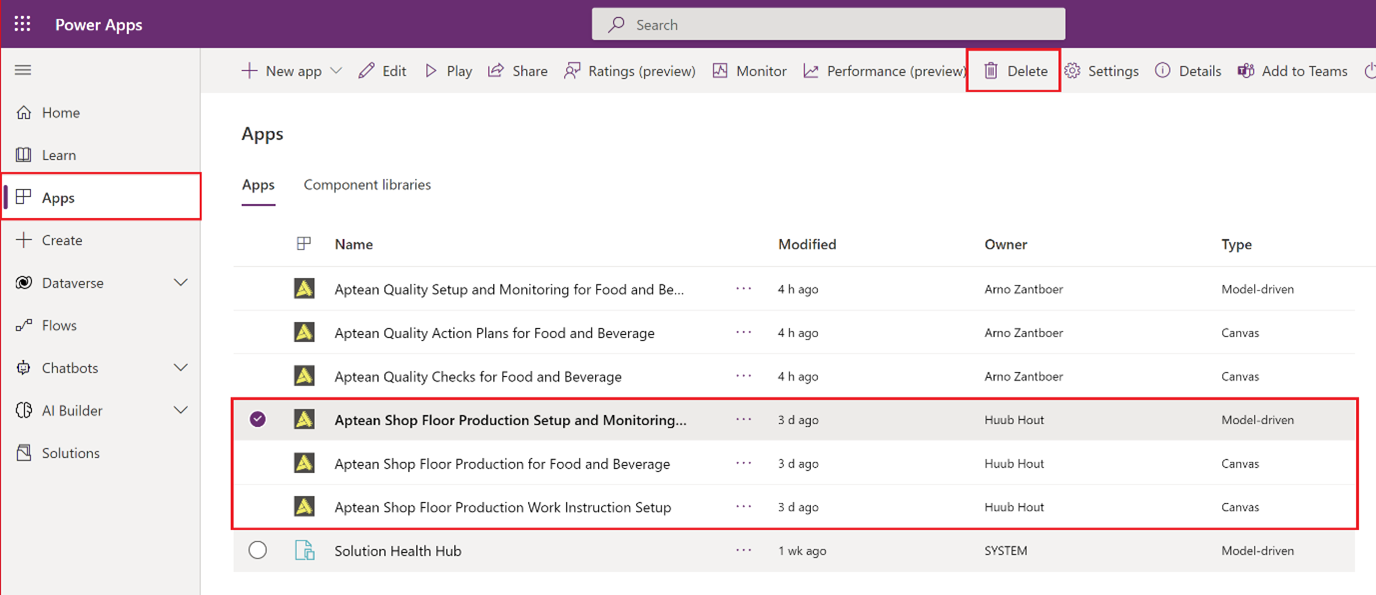
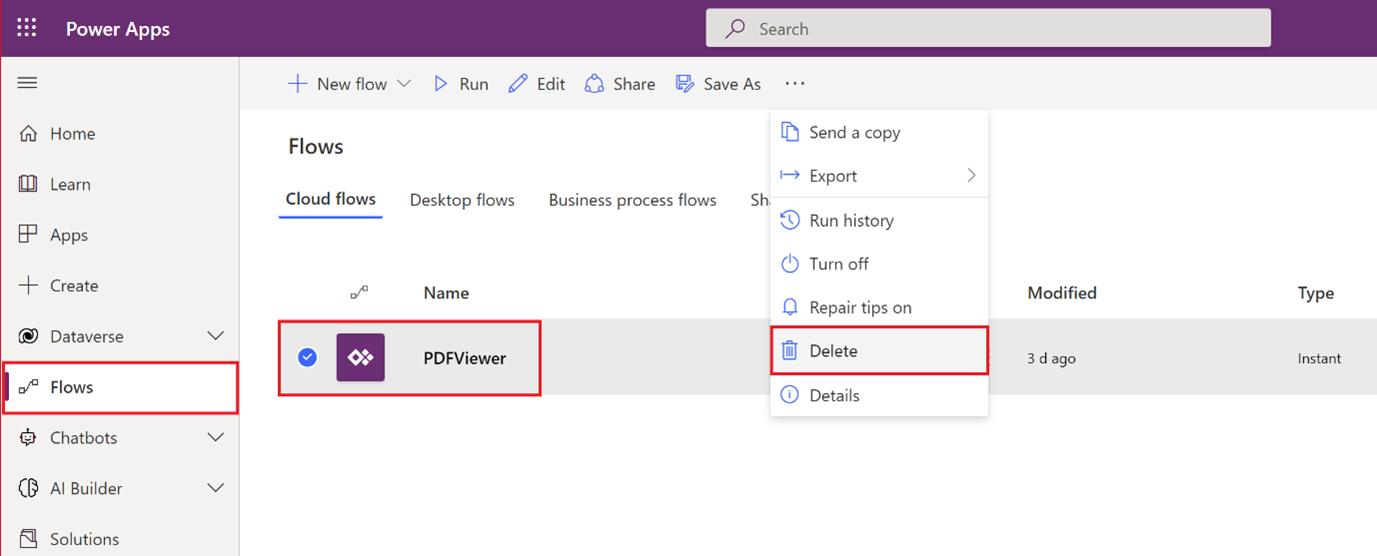
Do the same for the Cloud flow.
-
Delete the ShopFloorControlProduction Custom Connector from your environment via Dataverse > Custom Connectors.
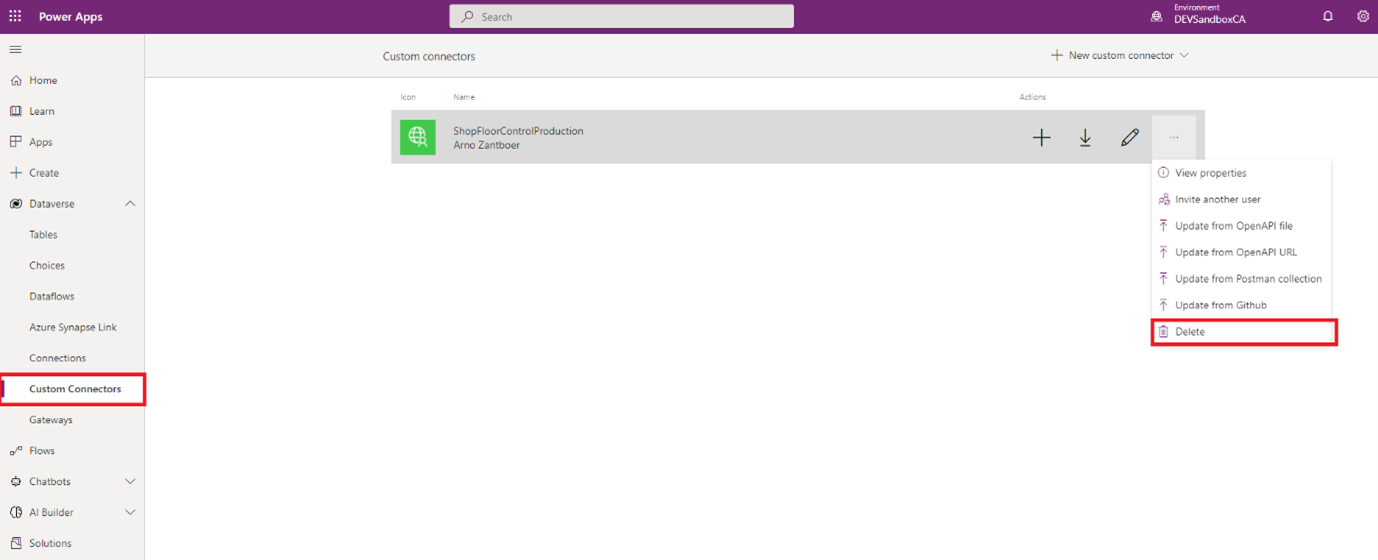
Make sure you are the creator of the Custom Connector, or you have Edit permission on the Custom Connector to be able to do so. On the below pop-up, select Delete.
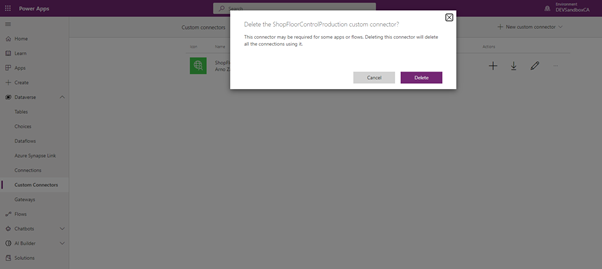
If nothing happens when you press delete, press CTRL+F5 to refresh the page and try again.
As a result, all User Specific Connections made on the basis of this Custom Connector are also removed for all users.
-
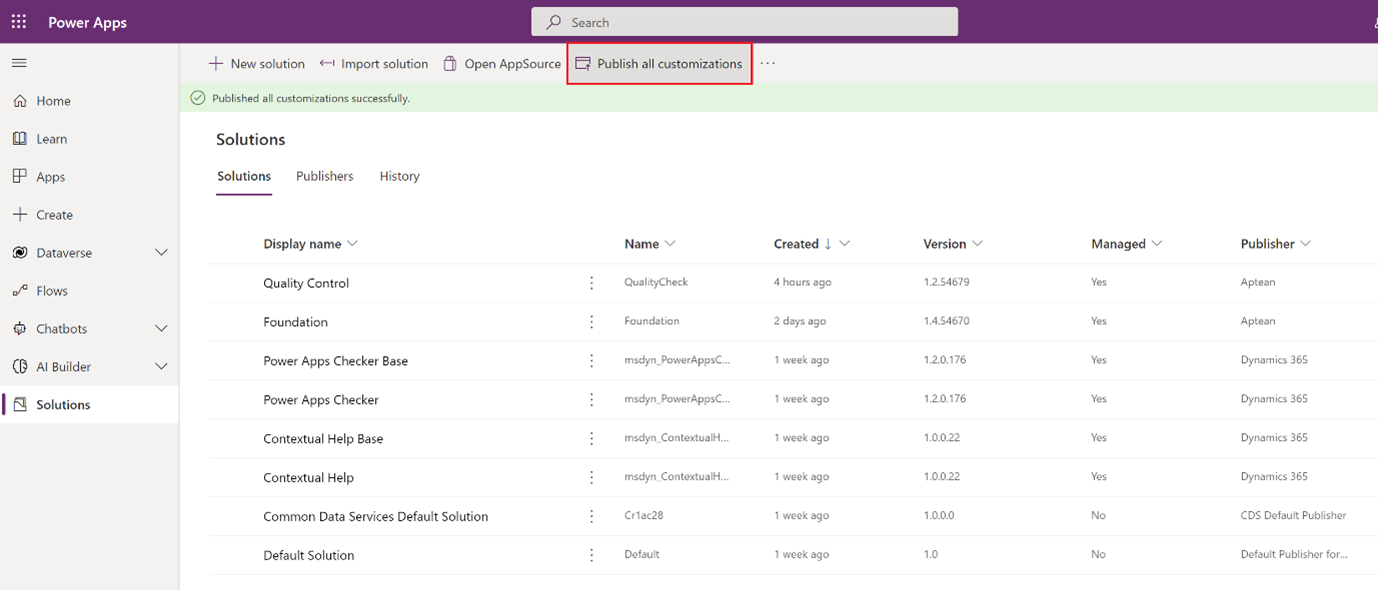
On the action bar, select Publish all customizations.

-
The Shop Floor Production Power Apps Solution uses a Custom Connector (API) to integrate with Business Central Online. To sign-in, the connector uses an app registration for the OAuth sign-in flow. The app registration and how to set up the app registration are described in [Deployment Instructions](Introduction to Deployment Instructions.md).
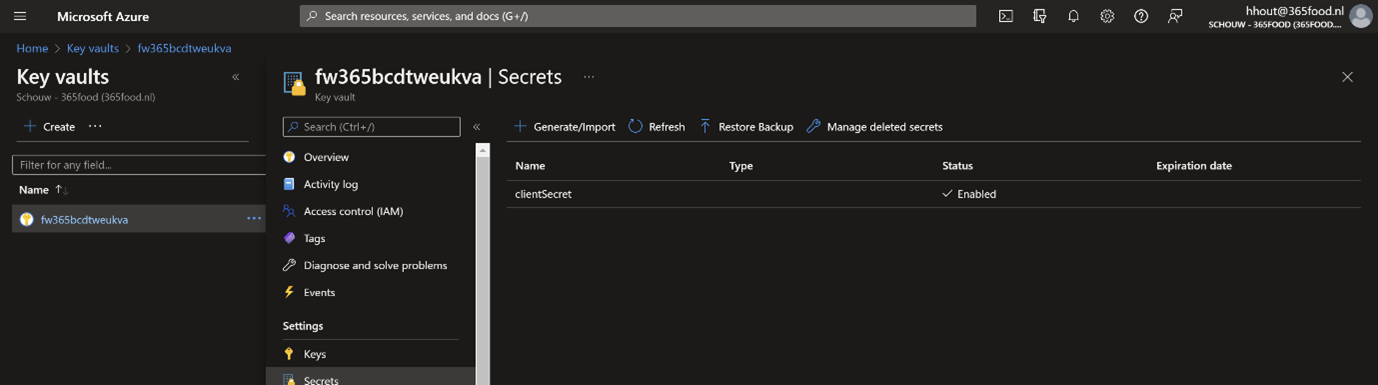
To safely store the app registration Client Secret Key, a Key-Vault and Key-Vault secret has to be initiated. This stored secret value is used by the Custom Connector Solution to log in via the OAuth flow.
For example,
You can use an existing Key-Vault. Take into account that PowerApps will need access to this Key-Vault.
For more information on setting up a Key-Vault, see Create Key-Vault | Microsoft Docs.
For more information on how to create a Key-Vault Secret, see Create Key-Vault Secret | Microsoft Docs.
The app registration and how to setup the app registration is already in Deployment Instructions.
Save the app registration Client Secret Key, which is created as the actual value for the Key-Vault secret value for clientSecret.
To integrate the Power Apps environment with Key-Vault, you must first set up to allow PowerApps to get the secret key from the Key-Vault and use it to sign in by using the OAuth flow.
-
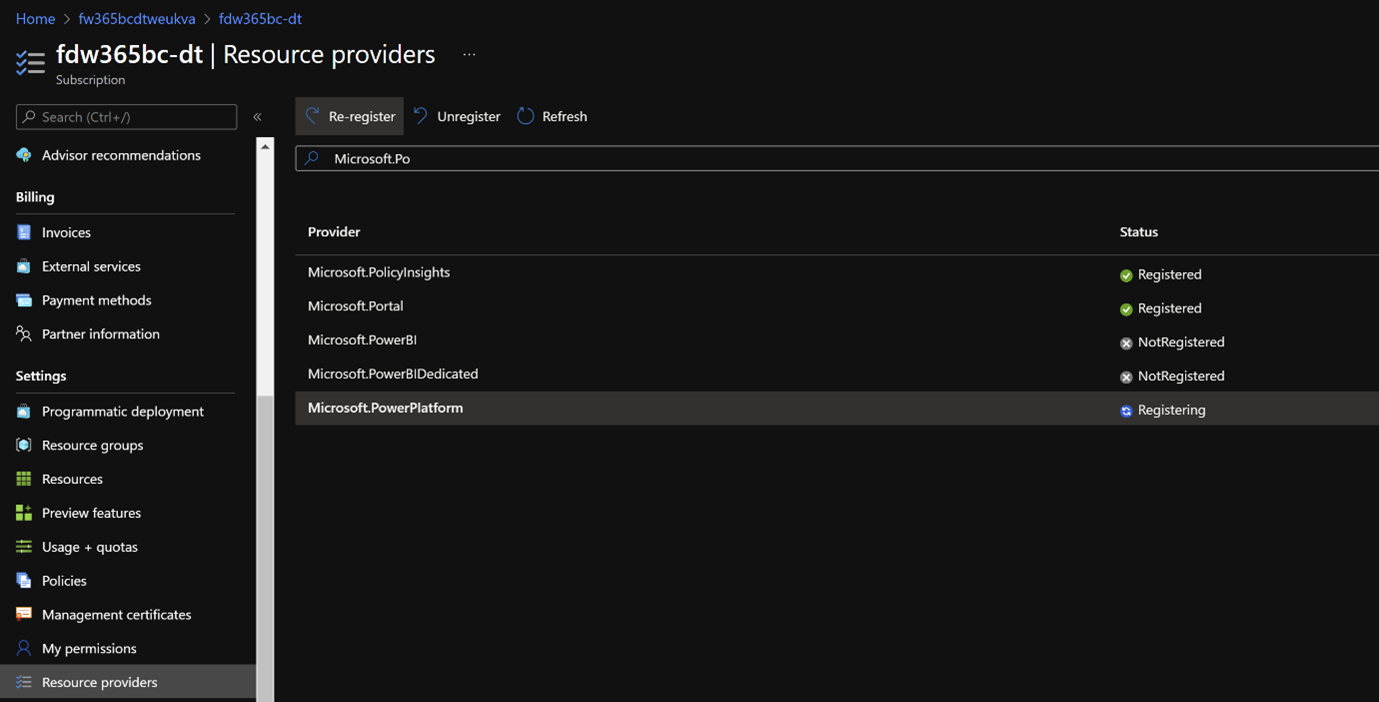
The Power Platform should be added as Resource Provider in your Azure Subscription.
-
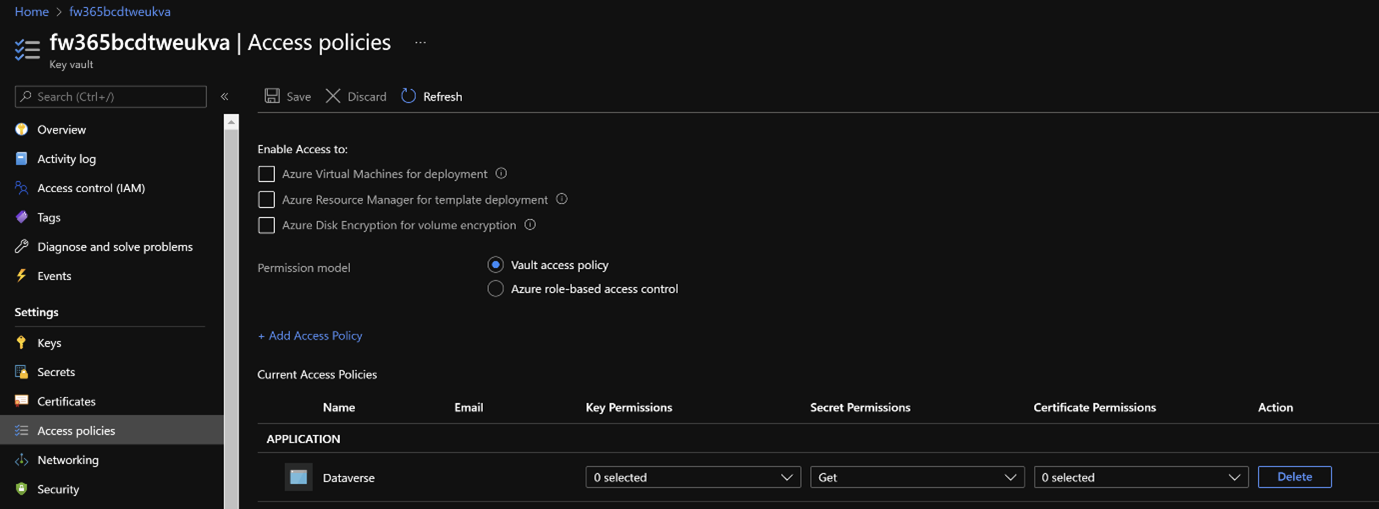
Dataverse must get read permission on the Key-Vault Secrets. To enable this, add principal 00000007-0000-0000-c000-000000000000 (Dataverse) in the Key-Vault Access policies and enable Get permission for Secret Permissions.
Now, Power Apps can read secrets that enable the use of the Secret Data Type for Environment Variable Values with the actual secret values stored and read from the Key-Vault. The Environment Variable is just set with the full path to the Key-Vault secret.
The user who sets up the Custom Connector Solution and its Environment Variable Values also needs permission to access the Key-Vault and read the secrets to be able to initiate the connection. This is not needed for users that will create new connections on basis of the new custom connector.
-
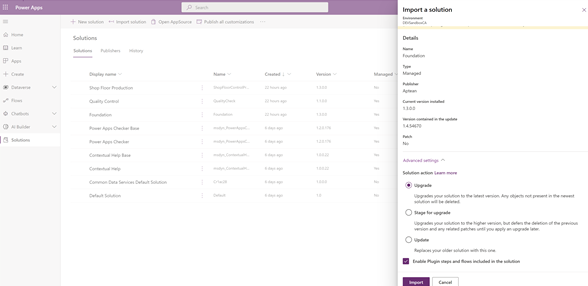
Import the updated solution Foundation Solution (Managed) v1.4.x.
For importing the new version of Power Apps Foundation Layer, select Advanced settings > Upgrade. This only applies for Power Apps Foundation Layer.
-
Import the new Shop Floor Production PowerAutomate Solution (Managed) v1.0.x.
Select the SharePoint Connection to be used and/or create the connection.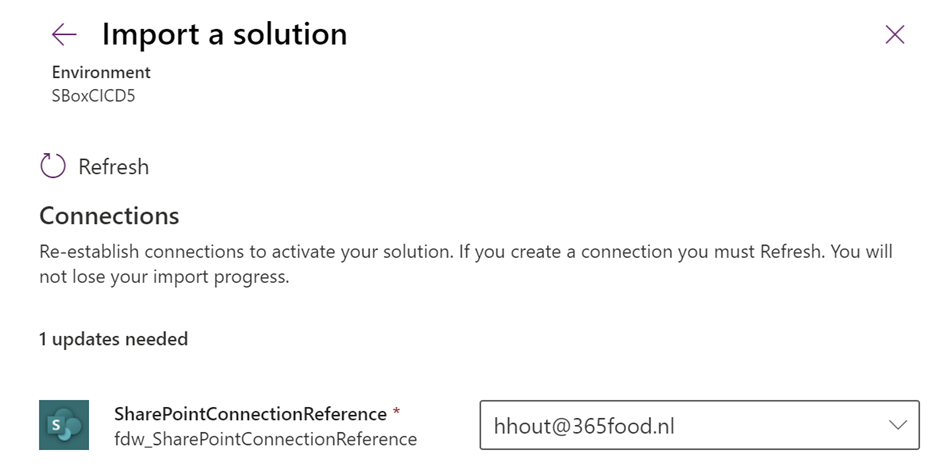
- Import the new Shop Floor Production Custom Connector Solution (Managed) v3.0.x
The Custom Connector Solution version represents the highest API version currently supported by the Solution. The changes and updates in this release have introduced v3.0 Business Central APIs, which are also supported by the Solution represented as v3.0.x.
Import and set up the Custom Connector Solution and its Environment Variable Values also needs permission to access the Key-Vault and read the secrets to be able to initiate the connection. This is not required for users who creates new connections on the basis of the new custom connector.
-
During import, the Environment Variable Values will be required. Enter the values needed for the Custom Connector to connect and login users to Business Central Online.
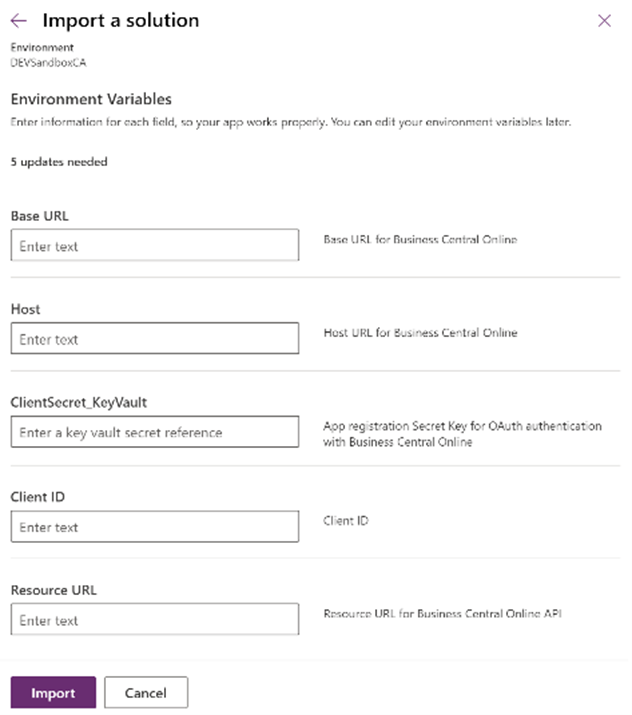
Base URL
Base URL for Business Central Connection.
The Business Central Online environments needs to be set up with v2.0/
Base URL of the Custom Connector already starts with a '/' so don’t start the given value with this character, because it will then start with two slashes.
Host
Host for Business Central Connection.
The Business Central Online environments needs to be setup with api.businesscentral.dynamics.com or the specific server URL in case of on prem environments.
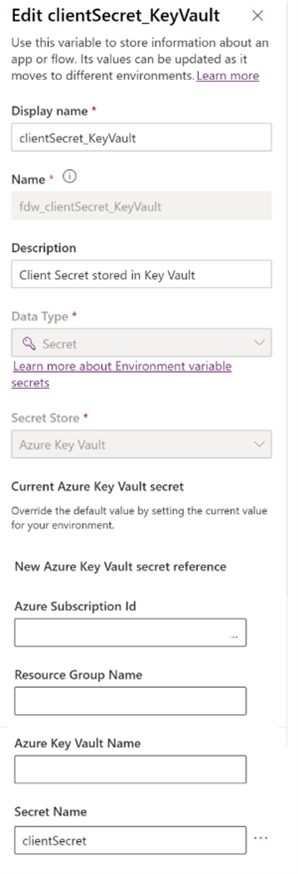
ClientSecret_KeyVault
App registration Secret Key for AAD OAuth authentication with Business Central is safely stored in Key-Vault as set up in the above steps.
The value must be entered as the full path to the secret key stored in the KeyVault.
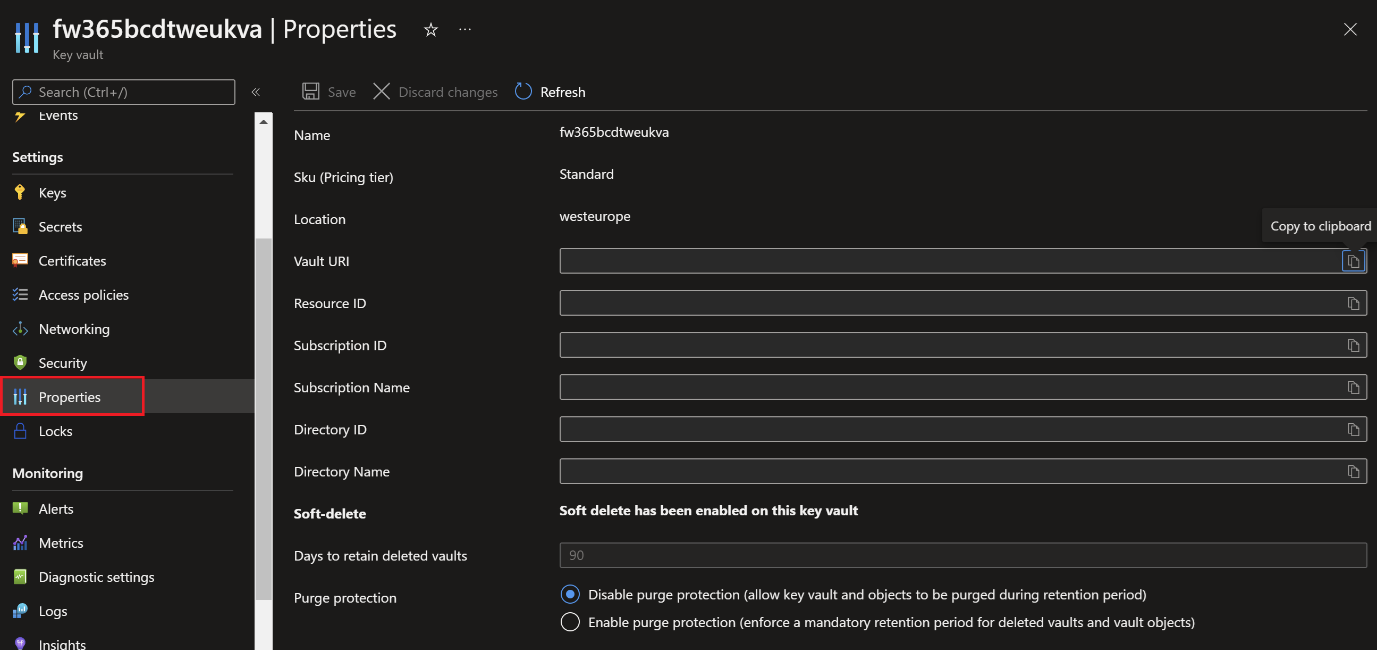
For example, /subscriptions/<your_subscription_id>/resourceGroups/<resource_group_name>/providers/Microsoft.KeyVault/vaults/<your_keyvault_name>/secrets/<your_secret_name>.
The above information can be found in the Key-Vault Properties. The secret name is created as instructed above, for example clientSecret.
Client ID
The App registration Application (client) ID for AAD OAuth authentication with Business Central.
The app registration and how to set up the app registration are already described in Deployment Instructions.
Enter the app registration Application (client) ID as the actual value for the Client ID.
Resource URL
Resource URL for Business Central Connection.
The Business Central Online environments needs to be set up with https://api.businesscentral.dynamics.com as used in the app registration setup.
Now all fields have a value select Import. The Custom Connector Solution is created, and the Custom Connector is visible via Dataverse > Custom Connectors.
When the above solution is imported again, the values will not be asked for, and the Custom Connector will continue working with the values saved in the Environment Variable Values (so that it does not overwrite customer-specific data).
You can manually edit the environment variables if a mistake has been made or one of the variable values needs to be changed.
In Default Solution, search Environment Variables, edit the Environment variable that needs a change and enter the new value as the Current Value.
For the ClientSecret_KeyVault, the path to be entered as the current value, in this case, are shown as separate fields.
The Custom Connector doesn’t pick up the new values automatically. To apply the new values, go to the Custom Connector via Dataverse > Custom Connector and edit the connector.

Select Update Connector and then Close. The Custom Connectornow uses the new values.
-
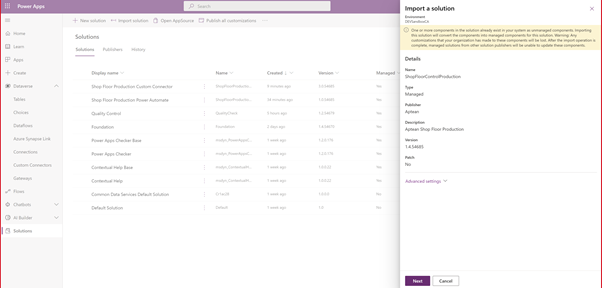
Import the new Shop Floor Production Solution (Managed).
Normally, a warning is shown about converting into a managed solution.
-
Publish all customizations after successfully importing.
- Import the updated translations as instructed in PowerApps.
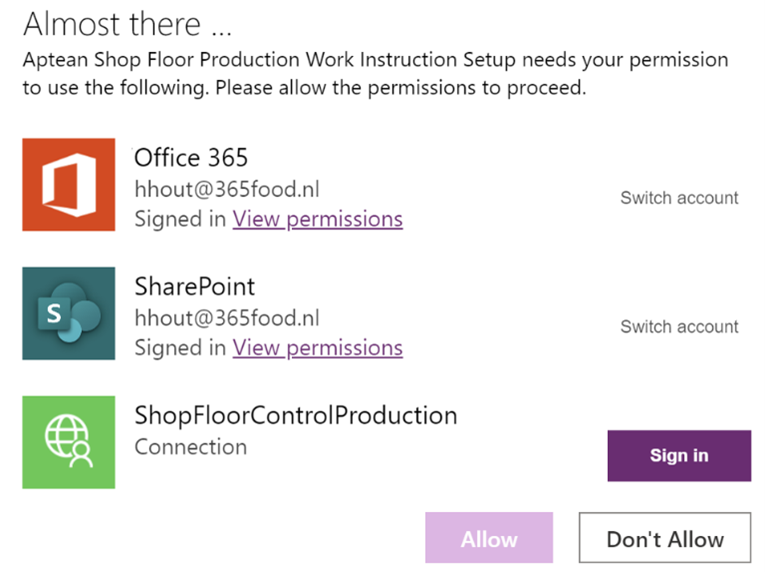
- Start the new Shop Floor Production Canvas apps and sign in all connections.
When all connections are signed in, click Allow to start the app. -
Select Sign in for the ShopFloorControlProduction connection.
A sign in window opens to sign in with your account
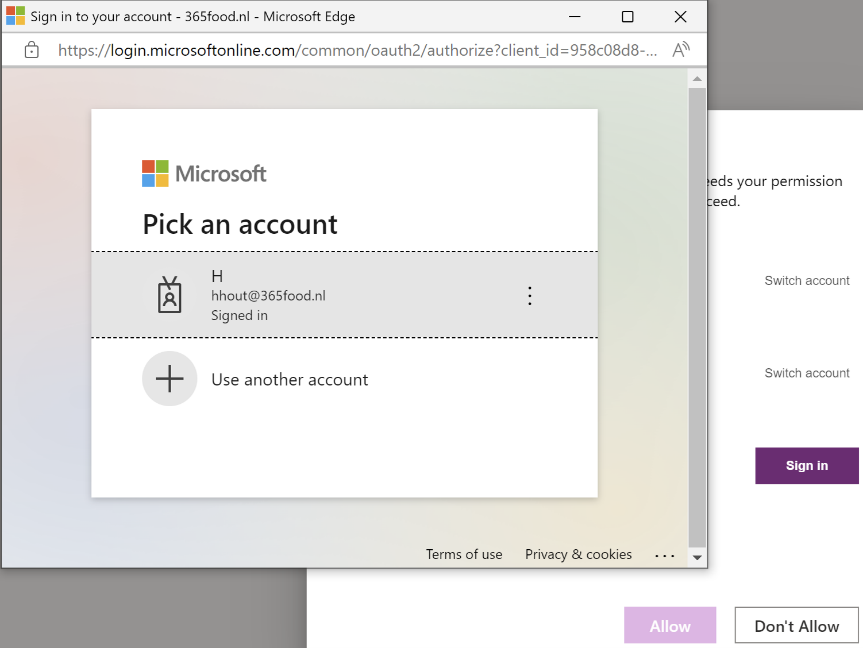
-
When the sign in is successful and all connections are signed in, select Allow for all connections and the app starts and is ready to use.

- When tested successfully, re-share the apps with all users and verify if the App settings are correct via the Model Driven app. This is described in [App Settings](../../App Settings.md).
Since the old unmanaged app versions were deleted, the new managed apps app ids must be verified. This is also a reason why they need to be shared again with users.
As some values are stored in cache, its advised to reopen the browser after changing connection references or environment variable values. When the app is started and the old value is still used, the cache refresh can be triggered by pressing CTRL+F5 just after the Canvas App is started.
When you delete a personal connection, for whatever reason, that is created as a result of the above action (via Dataverse > Connections) and start the app right away the following error message will appear.

This is the result of the personal connection stored in memory. To resolve this,
- Wait until it is refreshed by the platform (can take minutes or hours) and start the app again.
- Press CTRL+F5 to refresh and start the app again, sometimes refreshing multiple times is needed.
- Start the browser in Guest mode and start the app again in this session.
Fresh Install workflow details
For fresh installs the routine is much easier, there are now only multiple solutions to import, and the new versions will now ask to enter the necessary parameter values (Environment Variable Values).
The process for new customers is described and updated in the Deployment Instructions.