Tiered pricing (purchase)
Tiered pricing offers products or services at various price points. It allows you to pre-configure prices into defined brackets and create different pricing layers. This guide walks you through setting up tiered pricing and assigning price lists to vendors and purchase orders.
Install advance pricing feature
Installing the new Advanced Pricing feature on the Feature Management page in Business Central enables you to set up complex pricing structures efficiently. It streamlines managing tiered pricing, discounts, and special offers, improving pricing accuracy and customer satisfaction. The following procedure describes how to perform this activity.
If the new pricing experience feature is already enabled in Business Central, skip this section on enabling this feature.
-
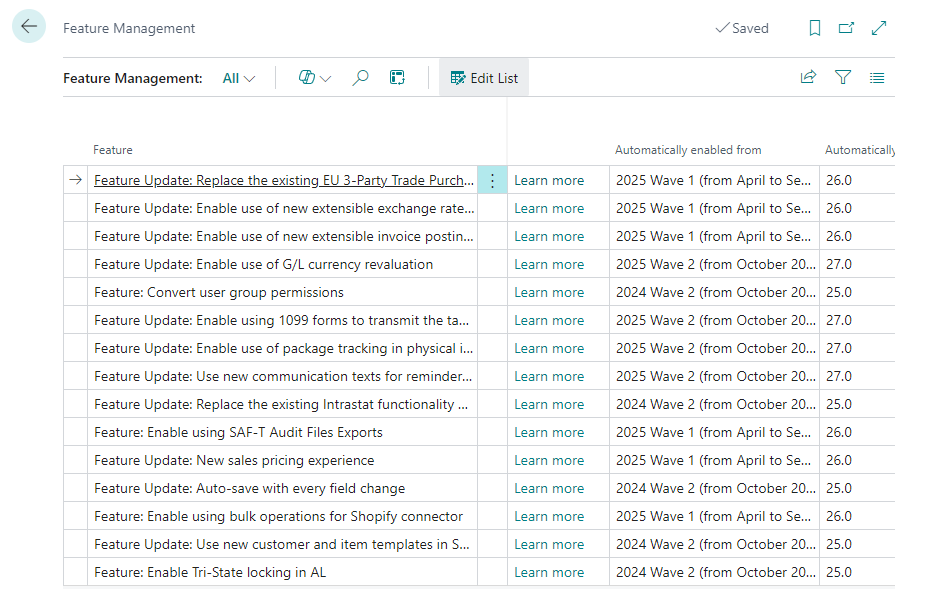
Select the Search icon
 , enter Feature Management, and then choose the related link.
The Feature Management page opens.
-
On the action bar, select the search icon
, enter Feature Update: New Sales Pricing experience.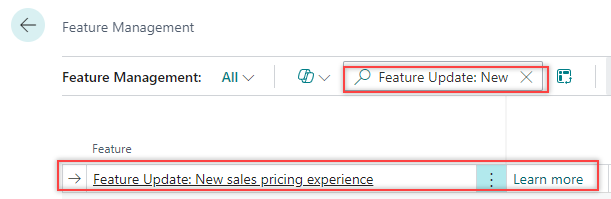
The system filters the particular line entry.
-
Verify the Current Company Status field value for the new pricing experience feature.

-
On the action bar, select Data Update > Schedule.

The system displays a dialog.

-
Turn on the Use default price lists and I accept the data update toggles and select Next.

-
Select Update.

The feature is updated for this company.
You can verify the Current Company Status field value for the new pricing experience feature.
Assign a price group to a vendor
-
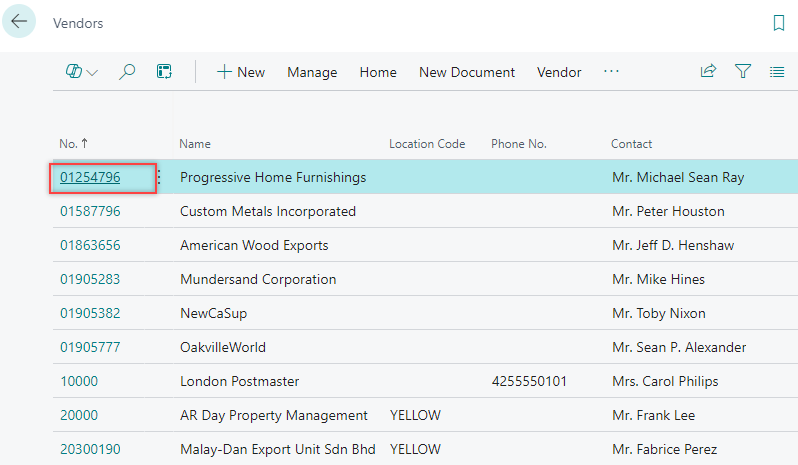
Select the Search icon
, enter Vendors, and then choose the related link.
The Vendors list page opens.

-
Select the desired No.
The Vendor Card page opens.

-
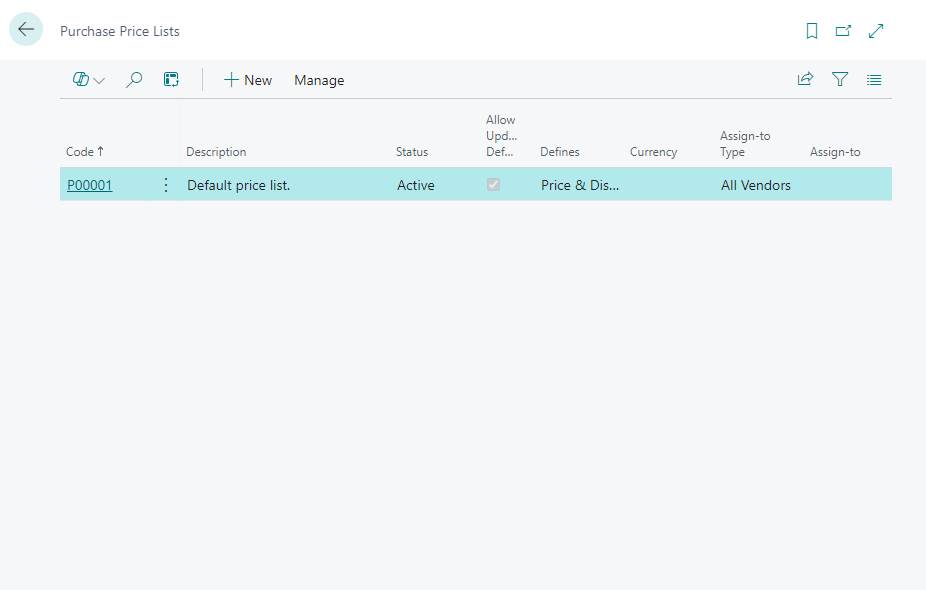
On the action bar, select Prices & Discounts > Purchase Price Lists.

The Purchase Price Lists page opens.
-
On the action bar, select New.

The Purchase Price List card page opens.

-
On the General FastTab, select the Code and enter the Description.
- In the Assign-to Type field, select Vendor.
-
In the Assign-to No. field, select the vendor number for which you want to create the purchase price list.

-
On the Lines FastTab, in the Product Type field, enter Item and in the Product No. field, enter the item number.
-
Define the values for the Unit of Measure Code, Minimum Quantity, and Direct Unit Cost fields for the line entries.

-
On the General FastTab, change the Status field value from Draft to Active.
The system displays a dialog.

-
Select Yes.
-
Verify the Status field value.

The purchase price list is configured.
Assign the price group to purchase orders
-
Select the Search icon
, enter Purchase Orders, and then choose the related link.
The Purchase Orders list page opens.

-
On the action bar, select New to open the Purchase Order card page.

-
On the General FastTab, in the Vendor Name field, select the defined vendor name for which we created purchase price list earlier.

-
On the Lines FastTab, select the items defined in the purchase price list and enter the quantity.

The system inherits the configured Direct Unit Cost Excl. Tax field value and calculates the Line Amount Excl. Tax field values accordingly.