Manage teams and employees
Load teams
- On the Role Center of Business Central, click Setup.
-
Select and click Workflow Setup.

The Workflow Setup page opens. - On the action bar, click the AssistEdit button, select Actions > Initialize > Team > Load from table 5083 / "Team".
A prompt appears to confirm whether you want to load the teams from the table 5083/ "Team". - Click Yes.
A prompt appears to confirm whether you want to load the assignment of employees from the table 5084 / 'Team Salesperson'. - Click Yes.
A prompt appears to notify the creation of teams. - Click OK.
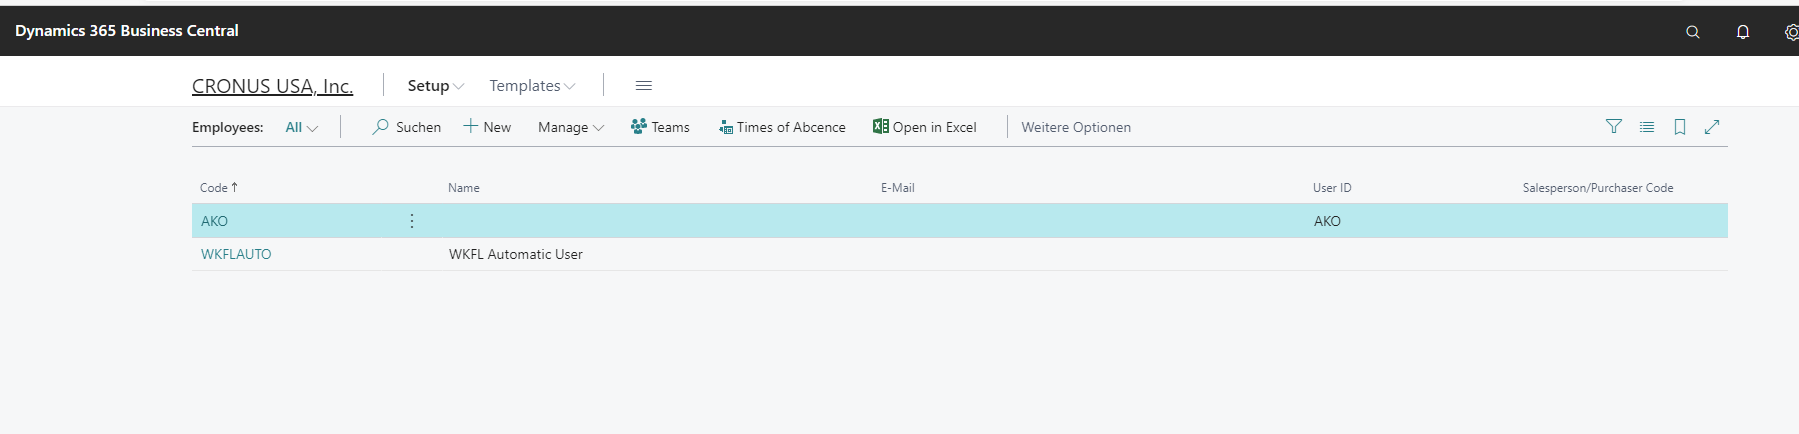
Load employees
- Select the Search icon
 , enter Employees, and then choose the related link.
The Employees page opens. -
On the action bar, click New.
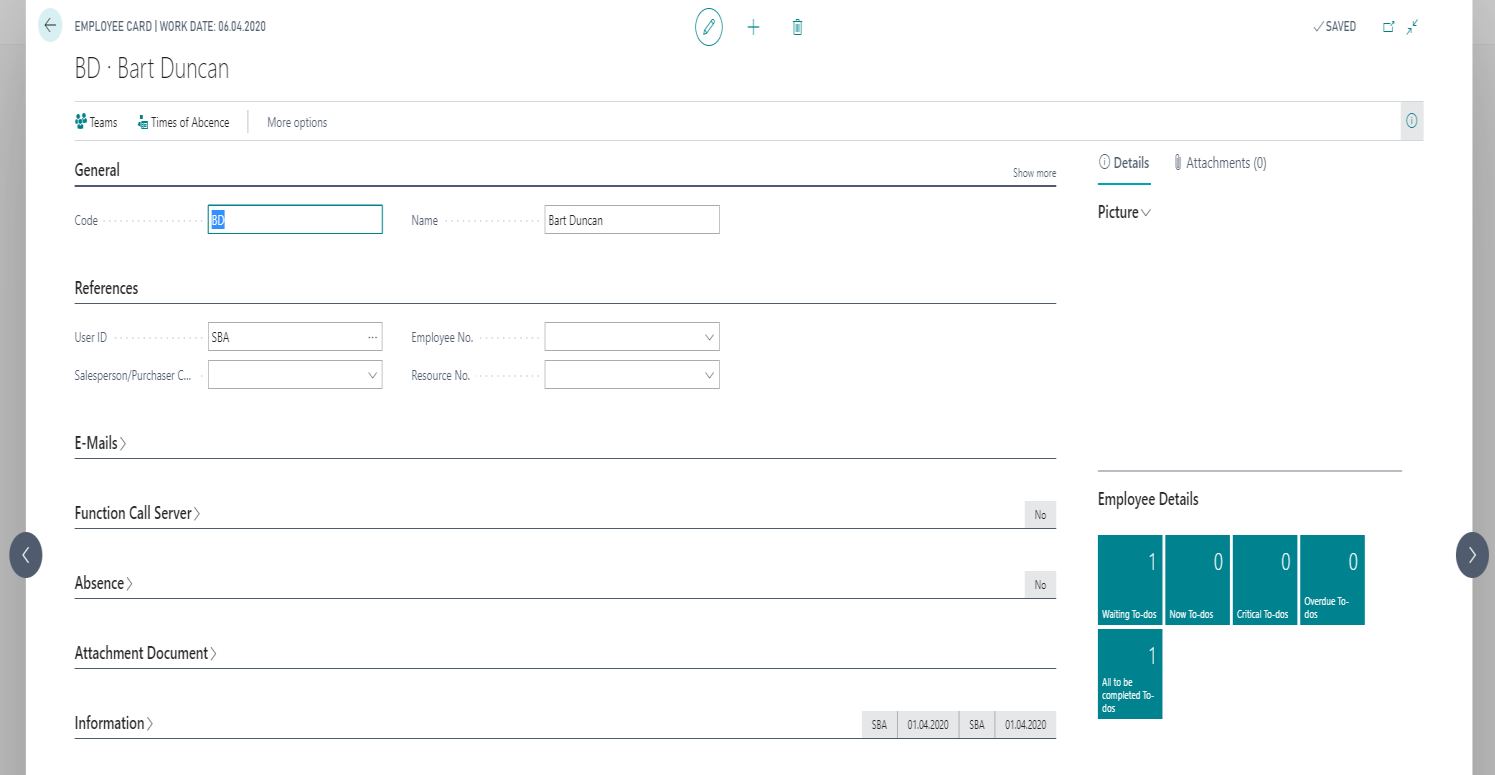
The Employee Card page opens. - On the General FastTab, enter the Code and Name field values.
-
On the References FastTab, enter the ID in the User ID field.
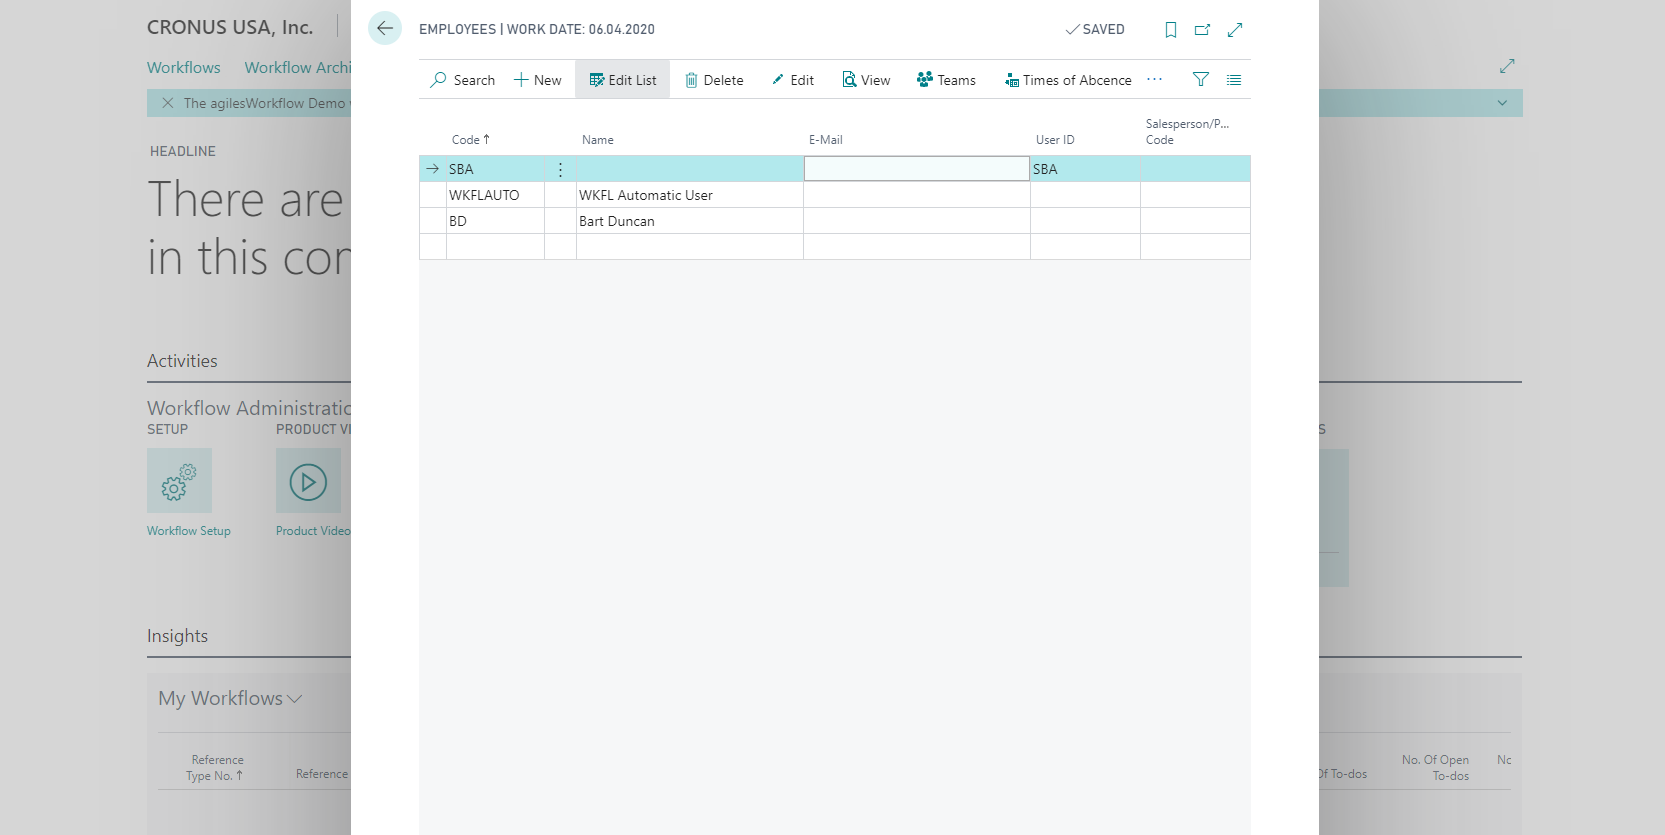
- Click the Back button to navigate to the Employees page.
-
To delete a user, select the required line and click Delete on the action bar.
Update teams
-
Select the Search icon
, enter Teams, and then choose the related link.
The Teams Administration page opens. -
Select and click Workflow Admin in the Code field.
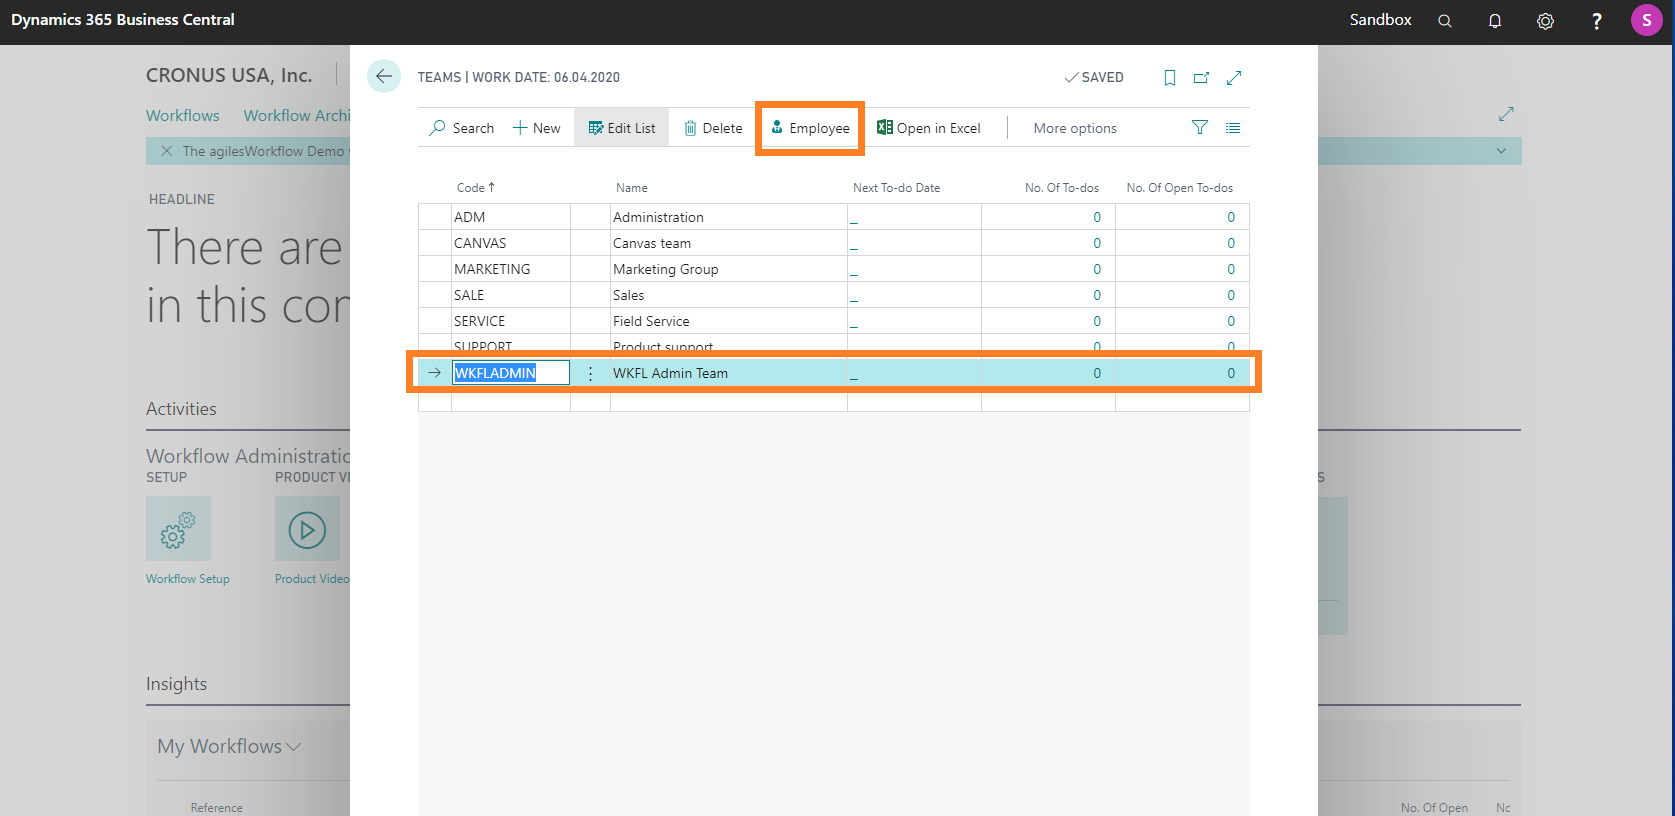
- On the action bar, click Employee.
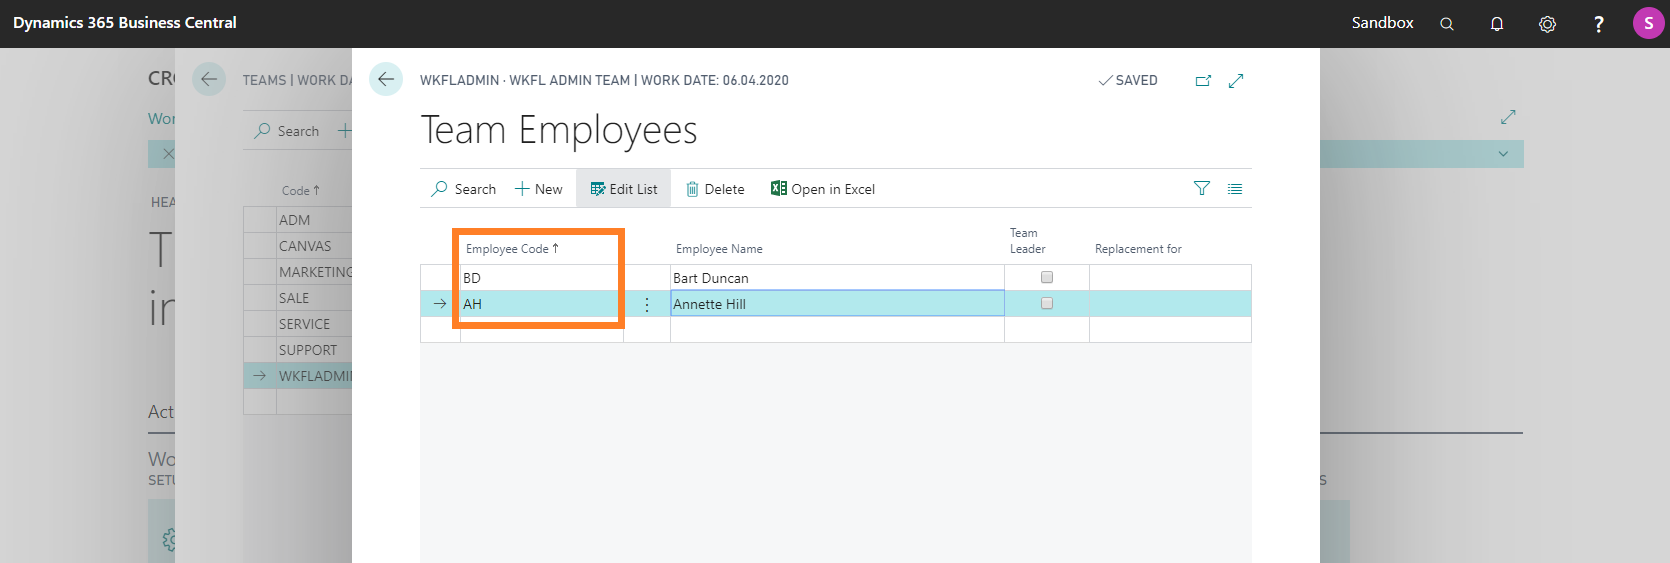
The Team Employees page opens. -
Select and click the required Employee Code to choose the employees.
- Click the Back button to navigate to the Role Center.
Define keywords as information about the data item
-
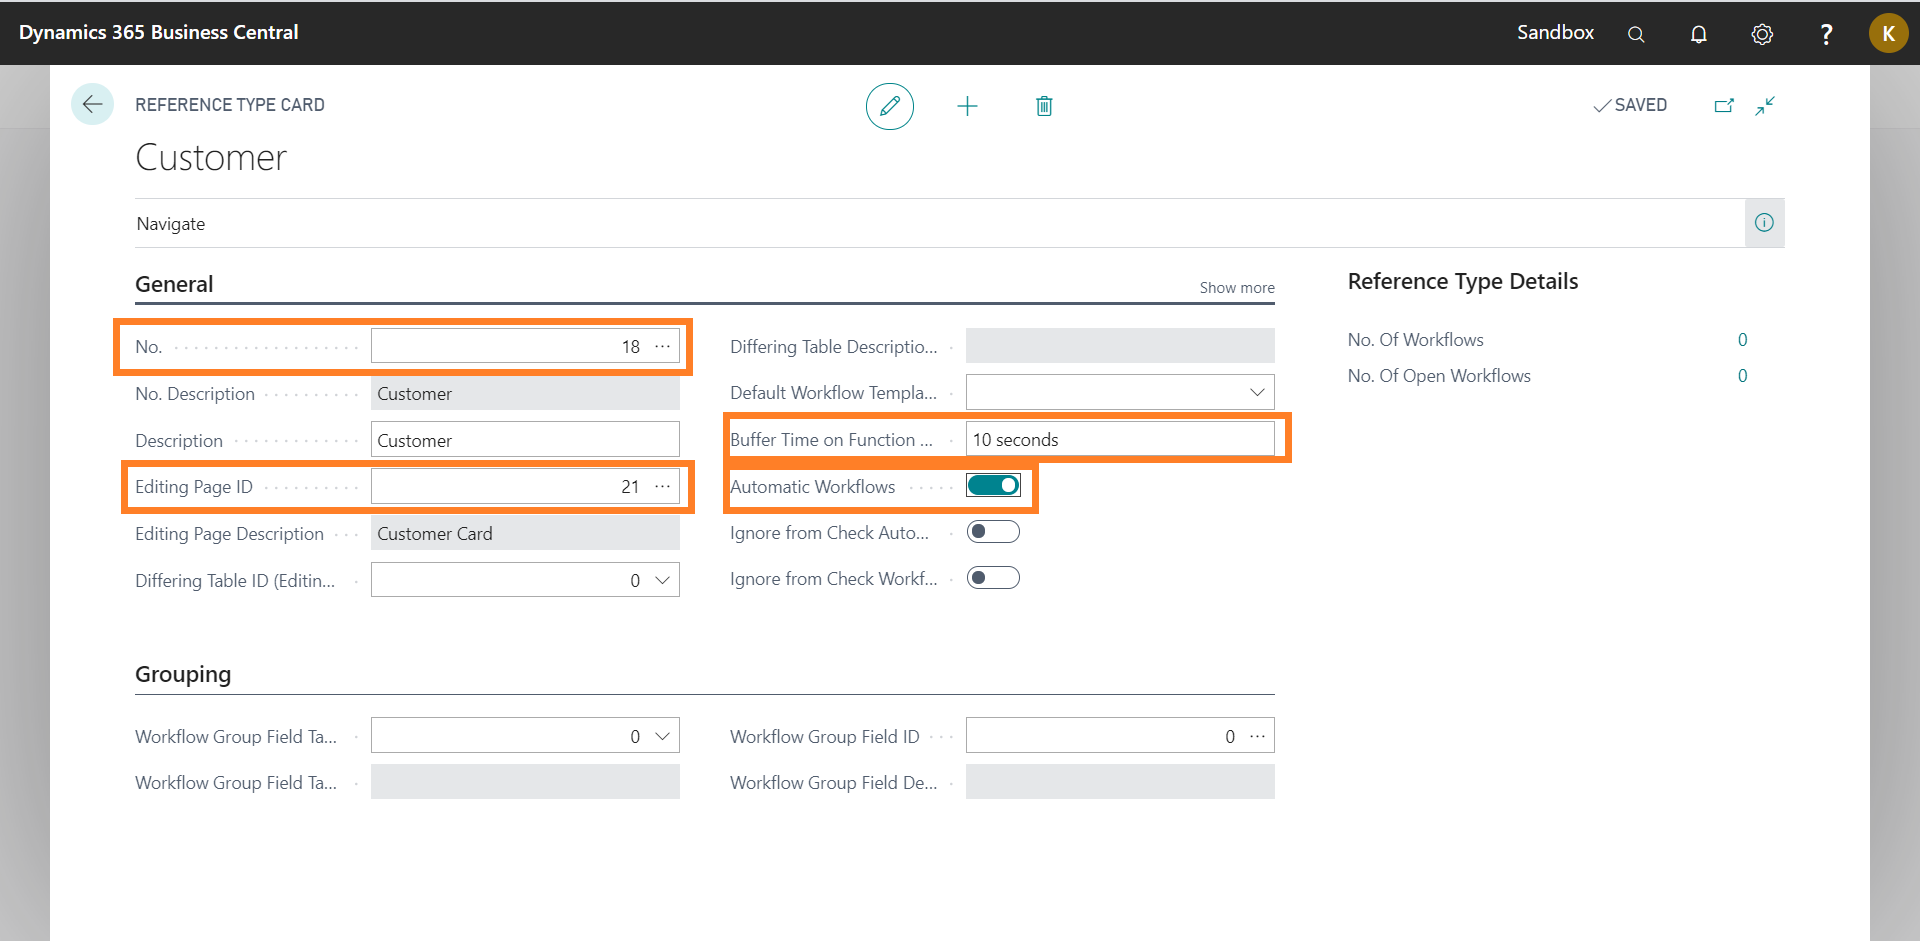
On the Role Center, go to Setup > Reference Types.
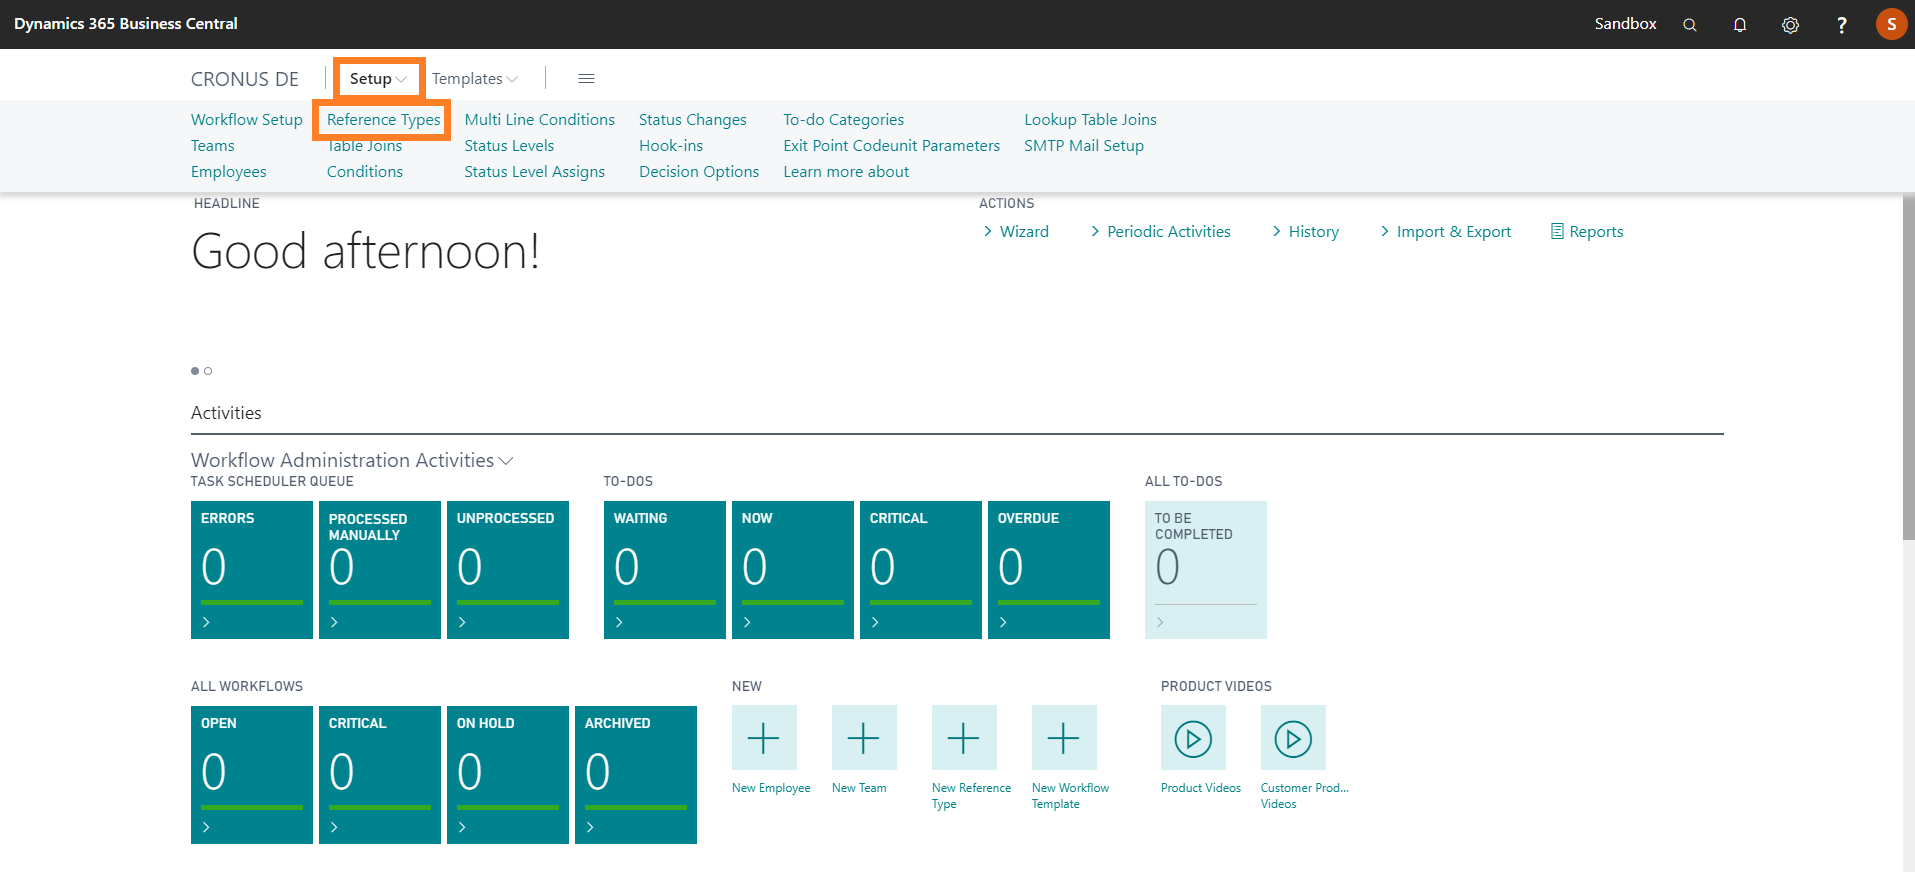
The Reference Types page opens. -
On the action bar, click New to open the Reference Type Card.
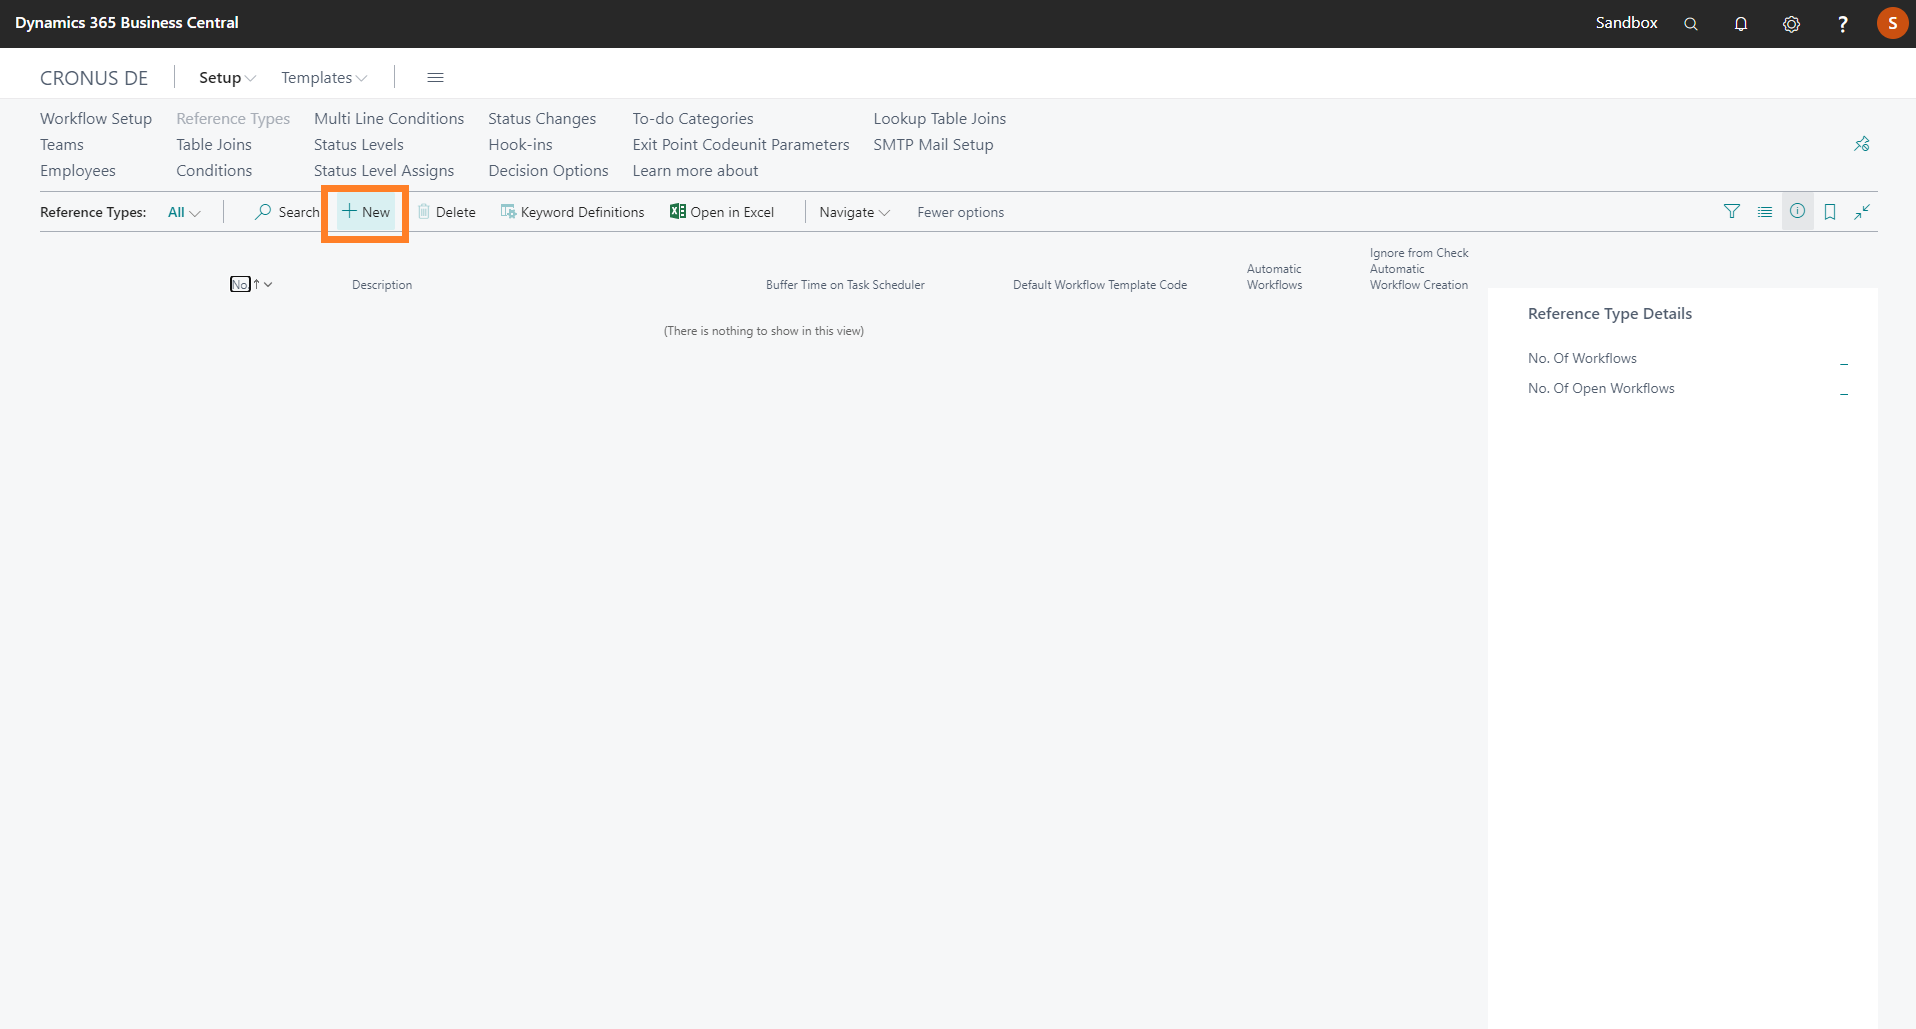
- On the General FastTab, enter values in the No., Editing Page ID and Buffer Time on Function fields.
-
Turn on the Automatic Workflows toggle.
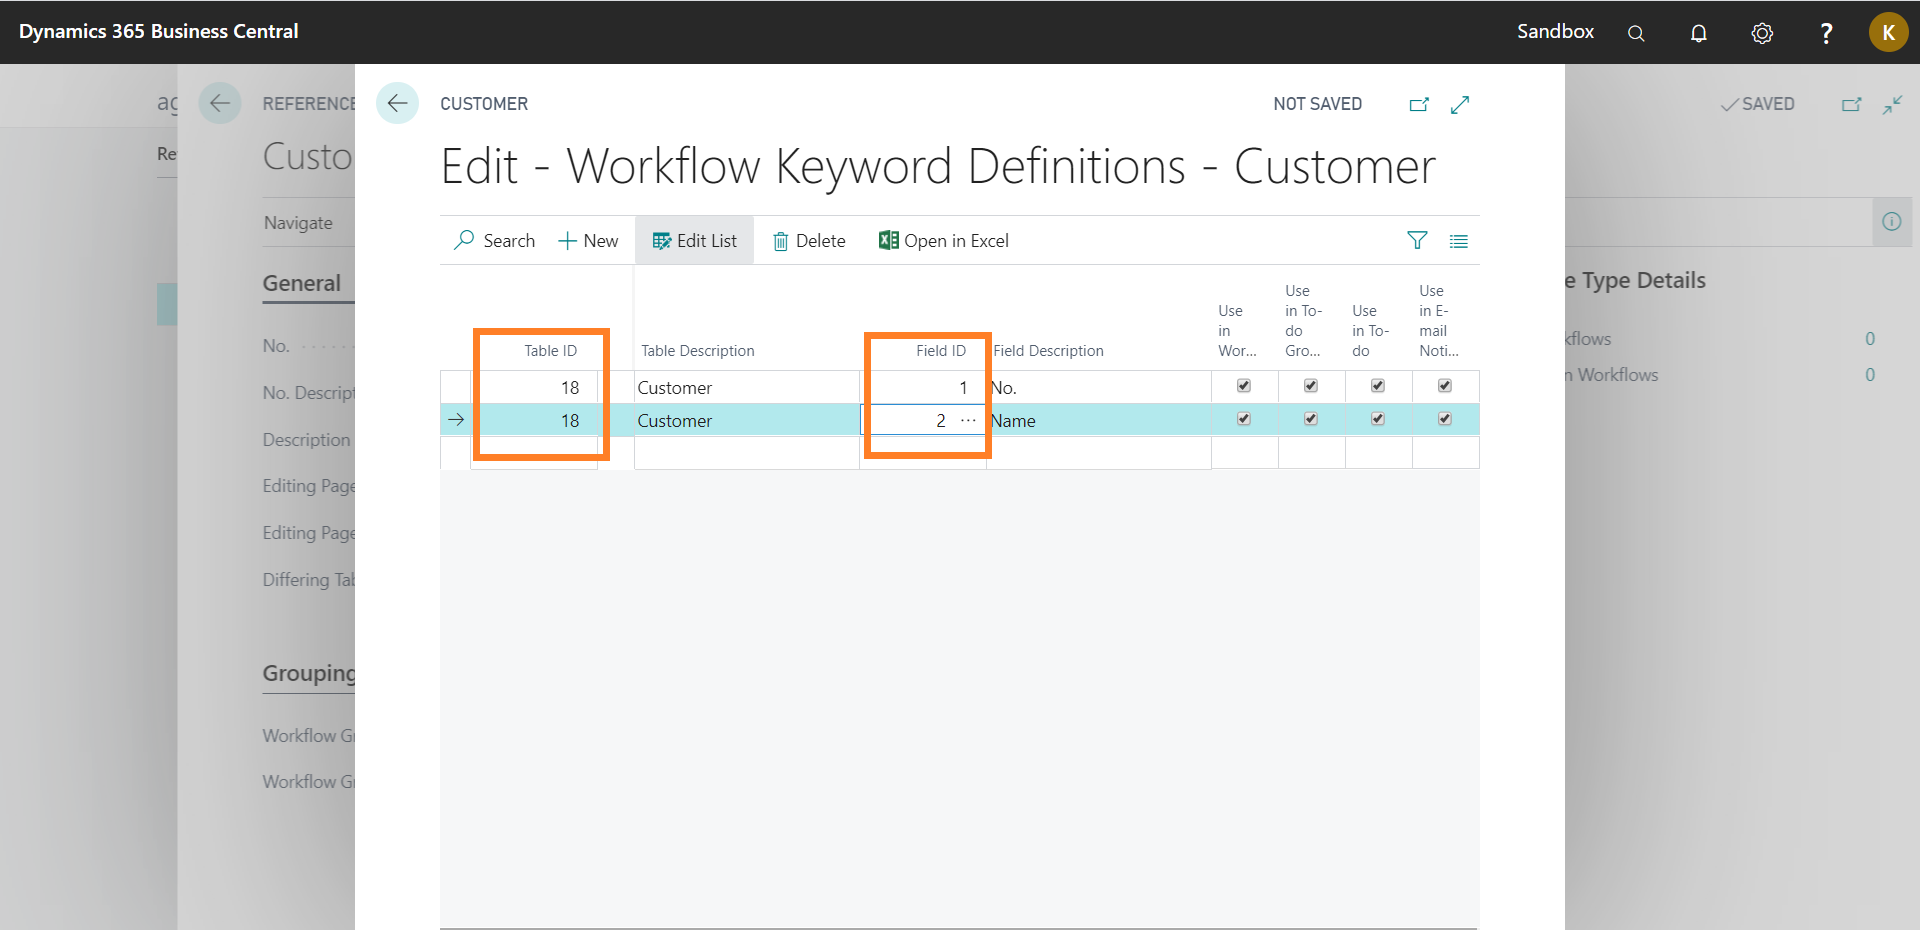
- On the action bar, click Keyword Definitions.
The Workflow Keyword Definitions - Customer page opens. -
Enter the Table ID and Field ID to define Keywords as Information about the Data Item.
- Click the Back button to navigate to the Role Center.