Legacy
Third Party Carrier Integration
This content is categorized as legacy and will no longer get updates, enhancements, or support.
When a common carrier such as UPS, FedEx, or USPS is used to perform shipping activities, it becomes necessary to transmit data according to that carrier’s requirements and methodology. While a company can take on this responsibility itself, it may be preferable to utilize shipping software developed by a third party. The advantage to this method is that the company is no longer responsible for learning and staying up-to-date on the carrier’s standards. For example, if we use a piece of integrated shipping software to process packages for UPS, and UPS decides to change the format of their tracking numbers, there is no need for us to make any changes to our activities, as the new change will be handled through our shipping software.
To that end, Aptean Pack and Ship is fully integrated with several third party shipping solutions. When these third party shipping solutions are deployed alongside Aptean Pack and Ship, shipment information is transmitted from Business Central to the third party solution, which will then assign information such as freight and tracking numbers. This data is then sent back to Business Central, where it is stored in the program. In addition, all of the processes, including printing the shipping labels and other required shipping documents are handled directly in Business Central.
Listed below are the third party shipping solutions that have been integrated with Aptean Pack and Ship to date.
- EasyPost
- ShipRush Web
- ShipStation
If Aptean Pack and Ship will be utilized in conjunction with the 3rd Party Shipping Integration, there are a number of records within Business Central that must be configured in order for data to be properly transmitted to the external source. It is not necessary to perform these setup activities in environments in which these integrations are not being used.
Setup: Third Party Carrier Integration
Before setting up the Aptean Pack and Ship module within Business Central, the following activities must be completed:
- Business Central Subscription: If you want a subscription to Aptean Pack and Ship, please contact Aptean Support.
-
Third Party Carrier Integration Account: If you intend to use your Aptean Pack and Ship solution in conjunction with one of the supported third party shipping solutions, you must set up an account with one of those solutions.
-
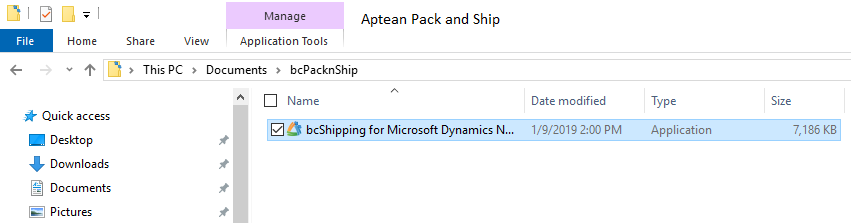
bcShipping Handler: if you intend to use your Aptean Pack and Ship solution in conjunction with one of the supported third party shipping solutions, you must install a separate integration component called the “bcShipping Handler” to facilitate the transmission of data to and from an external site. The bcShipping Handler needs to be installed on NAV Service Tier and any workstation who needs to access the NAV Development Environment. Prior to running the installation, it is strongly recommended to stop any Service Tier for the database. To ensure you have the correct handler for your version, please contact Aptean.
The bcShipping Handler is presented as a setup utility:
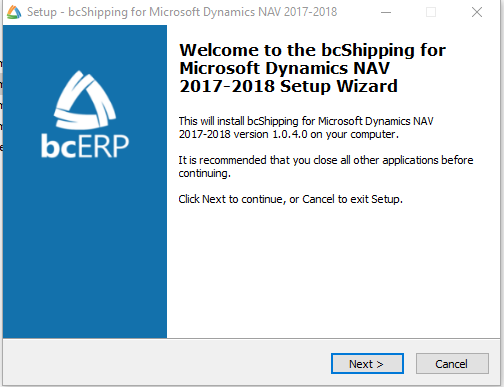
Running this utility will open a setup wizard.
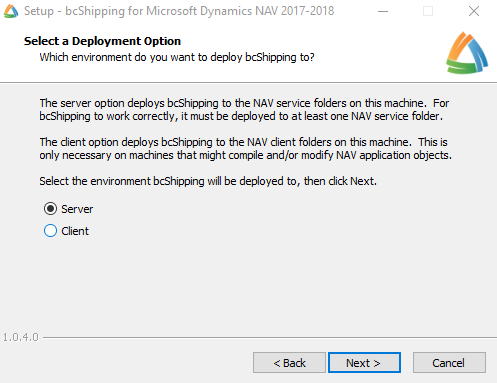
The next window displays the installation options. Choose the appropriate installation option then click Next.
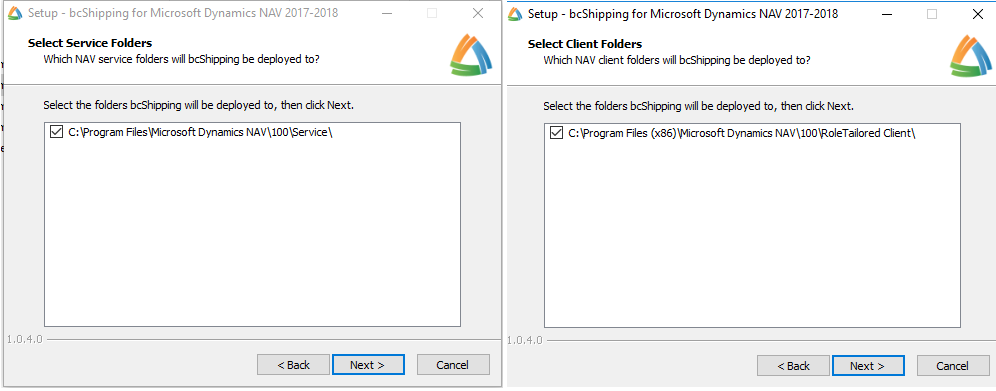
The next window will display the folder where the bcShipping components will be installed. This will be the standard Dynamics NAV installation folder for either the Service Tier or Client installation depending on which option you chose. Click Next to continue.
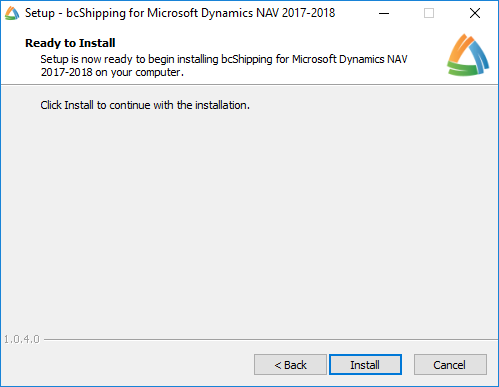
The next window indicates you are ready to start the installation. Click Install to continue.
Once the installation is completed, the following window will appear. Click Finish to close the window.
ShipRush Web Setup
When integrating with the ShipRush Web platform, it is necessary to first obtain a shipping token from your ShipRush Web account. To obtain this information:
- Create a ShipRush Web account and choose a plan (for a list of plans, click here). As part of this process, you will purchase ShipRush Web REST API shipping access.
- Once you have purchased the ShipRush Web REST API, you must contact ShipRush and supply your Web account user name. ShipRush will enable a shipping developer token on your ShipRush Web account.
-
Open your ShipRush Web account and navigate to Settings | User Settings | Developer Tokens. The shipping token is displayed here.
For security purposes, this token is only displayed once by default. It is recommended that you copy this token value to a secure location and follow standard best practices to keep this token secure (not including it in e-mails, etc.).
Once you have this token information, it must be entered as a shipping API in Business Central. This setting is entered in the Shipping API Setup page, which can be accessed from the Ship Setup menu by clicking Shipping API Setup.
You must enter three ShipRushWeb shipping API lines with the following codes and values:- SDKVERSION: 84114
- SERVICEURL: Depending on whether this configuration is being performed against a sandbox or live environment.
- SHIPPINGTOKEN: the shipping token you acquired from your ShipRush Web account.
For additional assistance, please contact ShipRush support.
EasyPost Web Setup
When integrating with the EasyPost Web platform, it is necessary to first obtain the API Key from your EasyPost Web account. To obtain this information:
Create an EasyPost Web account and obtain the API Key.
Treat your API Keys as passwords — keep them secret. API Keys give full read/write access to your account, so they should not be included in public repositories, emails, client side code, etc. If yours gets leaked, you can disable it on the dashboard's API Keys Page.
Once you have the API Key, it must be entered as a shipping API in Business Central. This setting is entered in the Shipping API Setup page, which can be accessed from the Ship Setup menu by clicking Shipping API Setup.
You must enter two EasyPostWeb shipping API lines with the following codes and values:
- APIBASEURL: https://api.easypost.com/
- APIKEY: the API Key you acquired from your EasyPost Web account.
For additional assistance, please contact EasyPost team.
Label Printer Settings
This content is categorized as legacy and will no longer get updates, enhancements, or support.
On the Label Printer Settings page, you can now assign any combination of workstation machine names, user ids, and label formats to determine where a carrier label should be printed. It also allows you to choose among different types of printing methods.
The new feature primarily helps to find the most specific record with the user id, machine name, and the label format than the record with a blank user id, machine name, and a label format.
If you are not specific about the details, you can leave all the fields blank except the Printer ID, or you can be specific by providing a value for every field. If the Printer ID is blank, the system takes the user’s default printer.
The fields on the Label Printer Settings page are detailed below:
- The Machine Name is the Windows name of a workstation to which a label printer is attached. To find the machine name, open the command prompt, enter the hostname, and press Enter.
- The User ID is the Windows account ID used to log into Business Central when labels are printed.
- The Carrier field allows you to define the label settings for each carrier label. If the field is left blank, the system applies the common label settings to all the carrier labels regardless of which specific carrier produced the label.
- The Label Format specifies what kind of label to print, e.g., a PNG image or a ZPL file.
- The Printer ID is the printer name used to print the label. This field displays the list of printers specific to the machine on which the RTC is currently running. If you are not working on that machine, it is suggested to enter the exact printer name manually.
- The Print Method determines whether an RDLC report should render the label data or be sent directly to the printer. It is suggested to use an RDLC report if you cannot get direct printing to work.
- The Report ID specifies the report that will be used if the Print Method is set to RDLC Report. If the field is left blank, bcShipping uses the default Carrier Label report (37046599).
ShipRush supports ZPL labels, which is a faster option than rendering the label to an image or an RDLC report. You can use the ZPL label format and the Direct Print print method.
If you are not using Zebra or other ZPL compatible printers, then it is suggested not to select this option. You can print the image files (PNG, BMP) directly.
On the Label Printer Settings page, the Details FastTab allows you to define the additional information about the label printer setup.
The settings include:
- In the Inversion field, the following options are available:
- Blank: you can ignore any pre-existing inversion commands that might already exist in the ZPL received from the ShipRush. It is not possible to add any explicit inversion commands.
- Yes: you can remove any pre-existing inversion commands from the ZPL which is received from ShipRush. It is possible to add an explicit ZPL command to invert the label.
- No: you can remove any pre-existing inversion commands from the ZPL which is received from ShipRush. It is possible to add an explicit ZPL command to not invert the label.
- Remove: you can remove any pre-existing inversion commands from the ZPL which is received from ShipRush. It is not possible to add any explicit inversion commands.
- In the Darkness field, the following options are available:
- Blank: you can ignore any pre-existing media darkness commands that might already exist in the ZPL received from ShipRush. It is not possible to add any explicit media darkness commands.
- -30 to +30: you can remove any pre-existing media darkness commands that might already exist in the ZPL received from ShipRush. It is possible to add an explicit ZPL command to set the media darkness to the selected level.
> This setting is not an absolute value. It is the delta of the global darkness setting applied to the printer itself. For example, if the printer is set to the darkness of +10, and the “Darkness” value in Business Central is set to -08, which will results the overall label darkness to +02. - Remove: you can remove any pre-existing media darkness commands from the ZPL which is received from ShipRush. It is not possible to add any explicit media darkness commands.