Create a warehouse shipment
This document explains how to create a warehouse shipment from a sales order.
Prerequisites
Location setup
-
Select the Search icon
 , enter Locations, and then choose the related link.
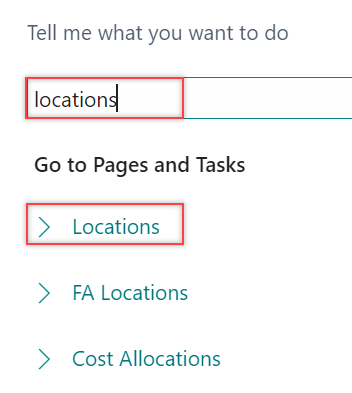
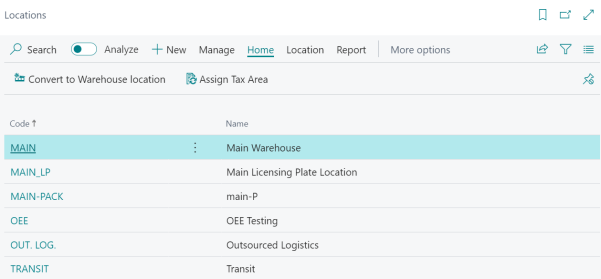
The Locations list page opens.
-
Select the required Code.
The Location Card page opens.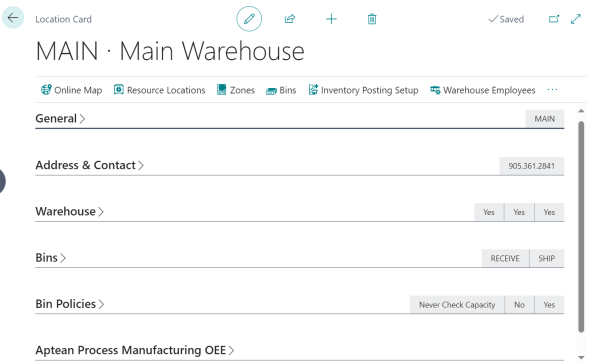
-
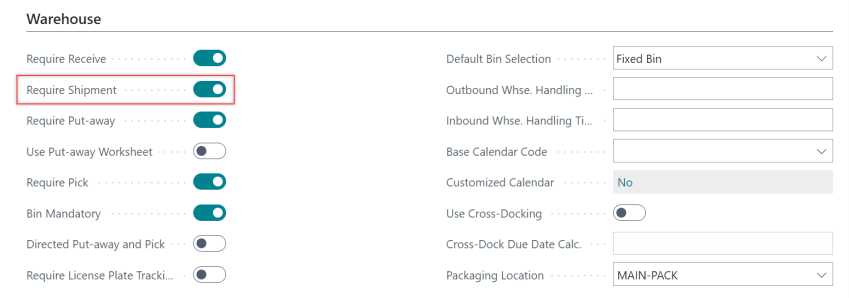
On the Warehouse FastTab, turn on the Require Shipment toggle.
You can perform step 3 when there is no ongoing activity at the specified location. This step depends on there being no internal picks assigned to the location.
The location is now set up for warehouse shipment.
Warehouse employees setup
-
On the Location Card page on the action bar, select Warehouse Employees.

Alternatively, select the Search icon, enter Warehouse Employees, and then choose the related link.
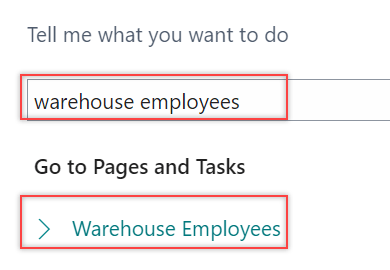
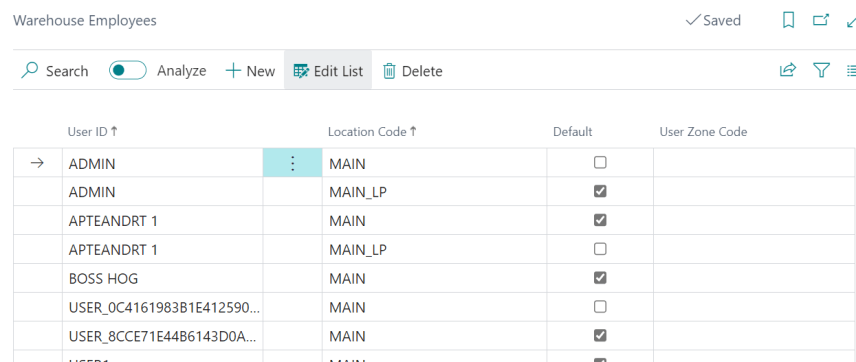
The Warehouse Employees page opens.
-
On the action bar, select New.
-
Enter User ID and Location Code.
-
Select the Default checkbox to specify that this is the only location where the employee can perform warehouse activities.
The Warehouse Employees Setup is configured.
Create a warehouse shipment
-
Select the Search icon
, enter Sales Orders, and then choose the related link.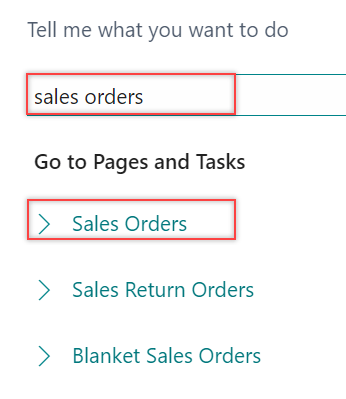
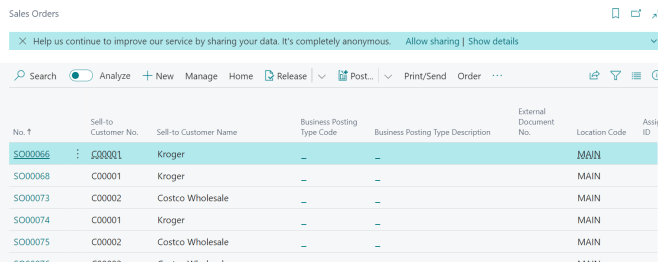
The Sales Orders list page opens.
-
Select the required No.
The Sales Order card page opens.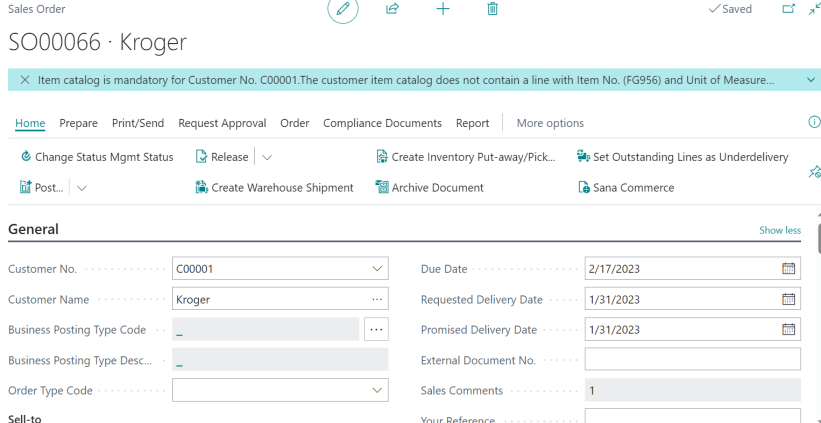
-
On the action bar, select Home > Create Warehouse Shipment.
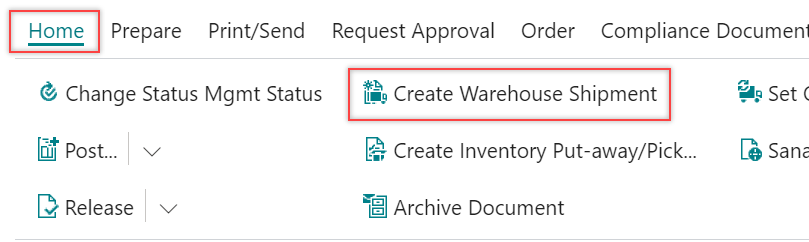
The system displays a dialog box confirming the creation of the warehouse shipment header.
-
Click OK.
The Warehouse Shipment is created. -
On the action bar, select Related > Warehouse > Warehouse Shipment Lines.
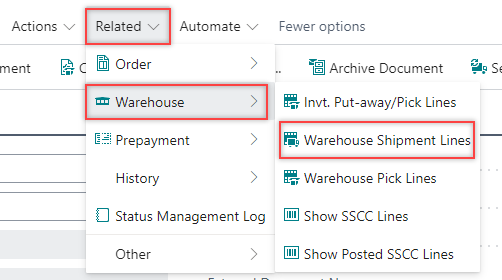
The Whse. Shipment Lines page opens.
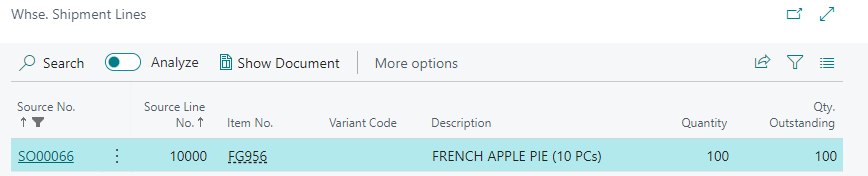
-
Select the Source No. to access the warehouse shipment.
The Warehouse Shipment page opens.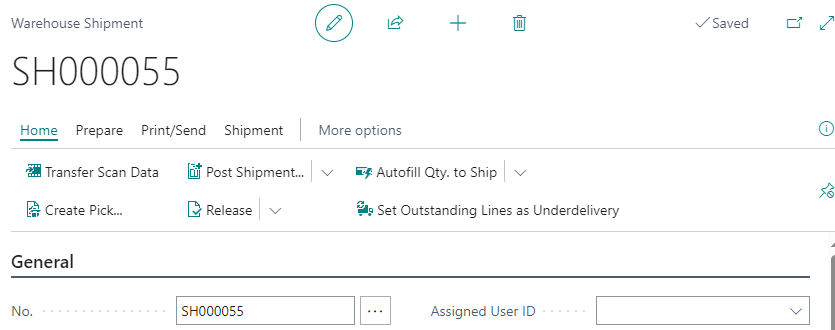
You can view the warehouse shipment document.