Create items
This guide is a walkthrough on creating inventory items. Items are the foundation of your business and can be in the form of finished goods, packaging, work-in-process goods, raw materials, etc.
Assumptions/System setup configuration
- Number series must be set up even if manual numbering is used.
- Item category codes and product group codes must be created and set up.
- Units of Measure (UOM) table for items must be set up (for example, Case, LB, and EA).
- Routing assignments are set up independently.
- Production BOMs (associated with WIP and FG) require completed item cards for the components listed in the Bill of Materials (BOM).
- Inventory posting groups and general product posting groups must be set up.
- Item tracking codes and/or lot algorithms must be set up.
- Inventory setup must be done.
Create inventory items
-
Select the Search icon
 , enter Items, and then choose the related link.
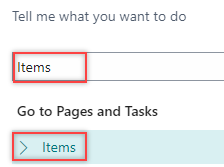
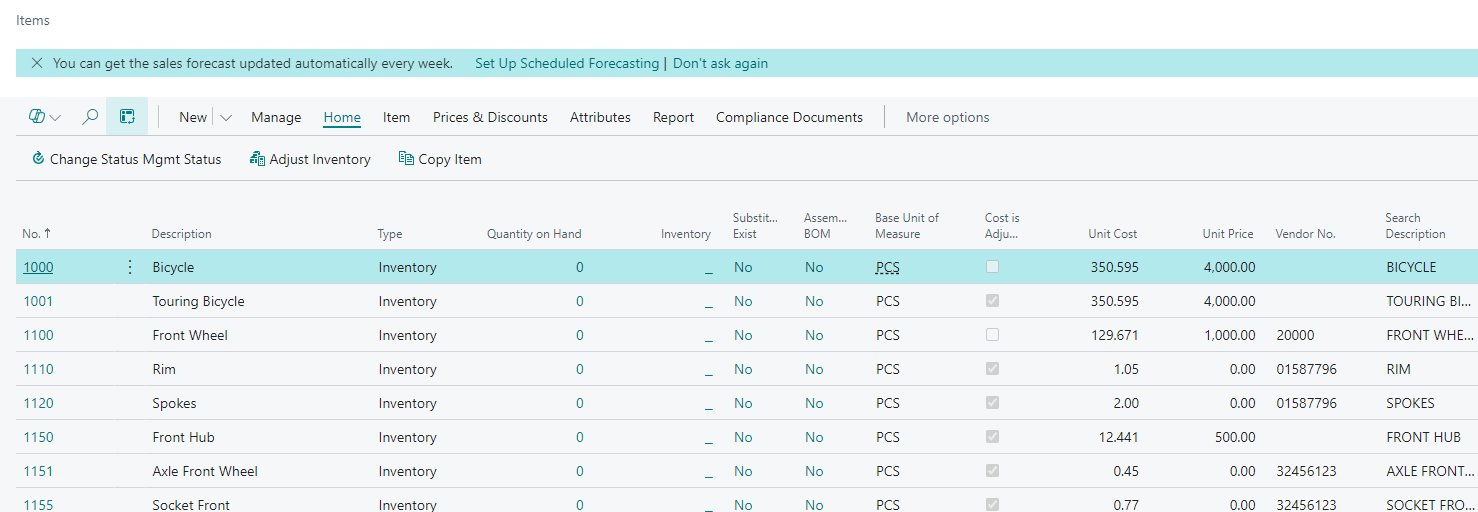
The Items list page opens.
-
On the action bar, select New.
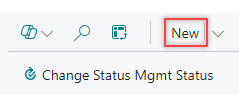
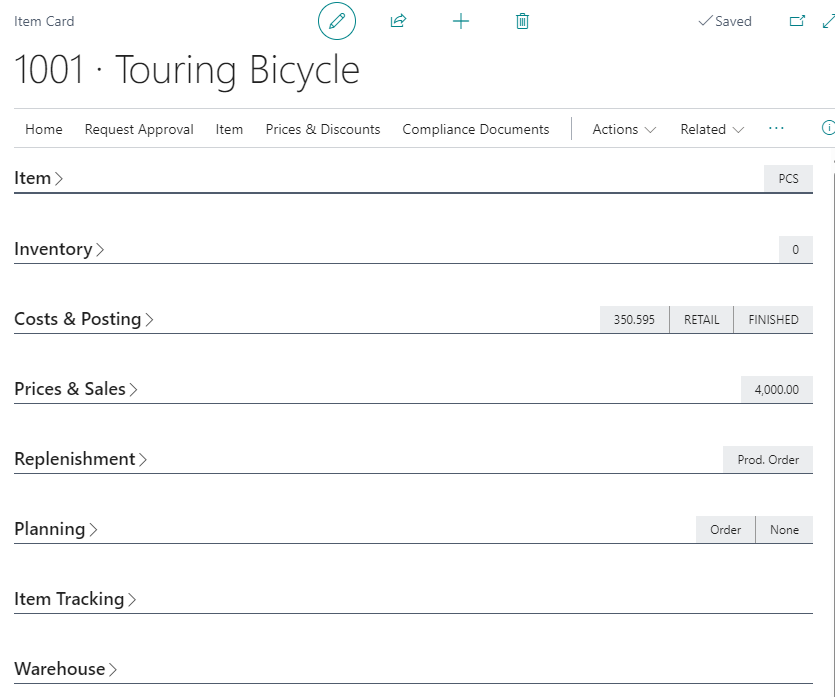
The Item Card page opens.
-
On the Item FastTab, enter the required information in the following fields:
- No.: Click the AssistEdit button to create a new item card number (system-assigned through the pre-defined number series). You can also manually enter an item card number if your business requires manual entry.
- Description: Enter a description for the item.
- Type: Select if the item is an inventory item, non-inventory item, or service item.
- Base Unit of Measure: Select the Base UOM for the item from the dropdown.
- Item Category Code: Select a category code for the item (for example: RAW, FG, etc.). Selecting this field will populate all the corresponding fields on the item card with the values pre-defined in the item category setup.
- Blocked: If this toggle is turned on, then the item cannot be used in any transactions or orders.
-
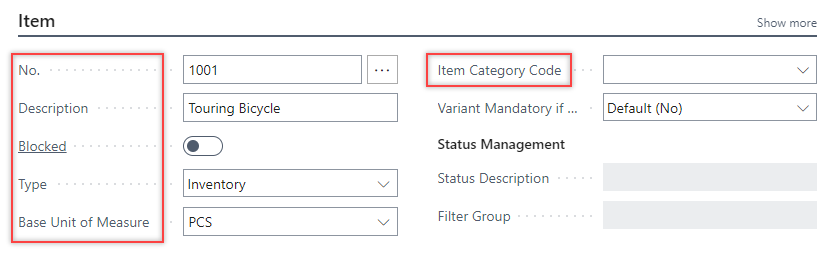
On the Inventory FastTab, enter the required information in the following fields:
- Stockout Warning: Specifies if a warning is displayed when you enter a quantity on a sales document that brings the item’s inventory below zero.
- Prevent Negative Inventory: Prevents the system from posting transactions that will bring inventory below zero when turned on.
- Net Weight: Enter the Net Weight of the item.
- Gross Weight: Enter the Gross Weight of the item.
- Catch Weight: This toggle specifies whether the catch weight of the item is considered for the transactions. The weight can vary from item to item either due to weight loss during storage or other factors.
- Catch Weight Setup Code: Select a code from the dropdown representing the percentage variance of a catch weight item.
-
On the Costs & Posting FastTab, enter the required information in the following fields:
- Costing Method: It is populated with the default value from the item category code setup. You can select a different type of costing for this item from the pre-defined list.
- Standard Cost: If Standard was selected as the costing method, this field can be edited. Manually enter the known standard cost. If you will be using the cost roll-up routine to calculate the standard cost, leave the field blank until the BOM and routing information have been assigned to this item.
- Unit Cost: If Standard was not selected as the costing method, this field can be edited. No value needs to be entered here. The first transaction for the item will end up being the source of this ever-changing value.
- Gen. Prod. Posting Group: Enter the item’s product type posting group to link transactions made for this item with the appropriate general ledger account according to the general posting setup.
- Inventory Posting Group: Enter the posting group that links transactions made for the item to an inventory account in the general ledger.
- Tax Group Code: Enter the tax group that is used to calculate and post sales tax.
- Purchase Prices & Discounts: Set up purchase prices and line discounts for the item.

-
On the Price & Sales FastTab, enter the required information in the following fields:
- Price/Profit Calculation: Set the relationship between price, cost, and profit.
- Profit %: If the Price/Profit Calculation field is set to Price = Profit + Cost, then enter the percentage of profit you want for the item.
- Allow Invoice Disc.: Use this toggle to allow invoice discounts to be applicable to this item.
- Item Disc. Group: Assign the item group code that can be used as a criterion to grant a discount when the item is sold to a certain customer.
- Sales Unit of Measure: Enter the unit of measure code that the item is sold in.
- Sales Blocked: Prevent this item from being used in sales transactions other than returns, memos, or journals.
- Sales Prices & Discounts: Set up purchase prices and line discounts for the item.
- Trade Product Group: Specifies the trade product group that is linked to this item.

-
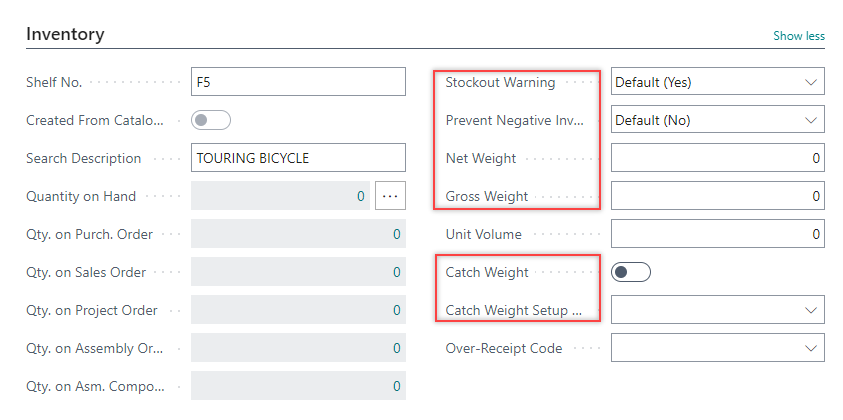
On the Replenishment FastTab, enter the required information in the following fields:
- Replenishment System: Select either Purchase or Prod. Order (manufactured).
- Vendor No.: Select the primary vendor.
- Vendor Item No.: Enter the item number that the vendor uses to recognize your item. If you have multiple vendors for one product, you can set up the Vendor Item Catalog instead.
- Purch. Unit of Measure: Select the UOM used when purchasing the product.
- Purchasing Blocked: Prevent this item from being used in purchase transactions other than returns, memos, or journals.
- Manufacturing Policy: Select the appropriate value from the dropdown. The values are as follows:
- Make-to-Order: The program explodes the bill of materials (BOM) and creates an additional production order line (or production order proposal line) for each level in the BOM structure where that item’s manufacturing policy has also been defined as make-to-order. This means that if you want to make multi-level production orders, then the manufacturing policy for the parent item as well as the component items at all levels must be make-to-order.
- Make-to-Stock: The program considers just the first level of the BOM and allows only one item per production order. A make-to-stock item is produced at inventory levels.
Typically, these are standard items with a relatively short manufacturing lead time or items that are used as required subassemblies for other items.
- Routing No.: Enter the routing number that will link to the item’s routing.
- Production BOM No.: Enter the Production Bill of Material number that links to the BOM for that item.
- Rounding Precision: Define what decimal length the system will be rounded and display quantities on hand for this item (for example, setting this value to 0.1 will display on hand quantities rounded to 1/10th of the Base UOM).
- Flushing Method: Click the dropdown arrow to select the appropriate value. The values are as follows:
- Manual: Select this option if you want to post consumption manually using the production or consumption journal.
- Forward: Select this option to have the program automatically calculate and post consumption.
- Backward: Select this option to have the program automatically calculate and post consumption.
-
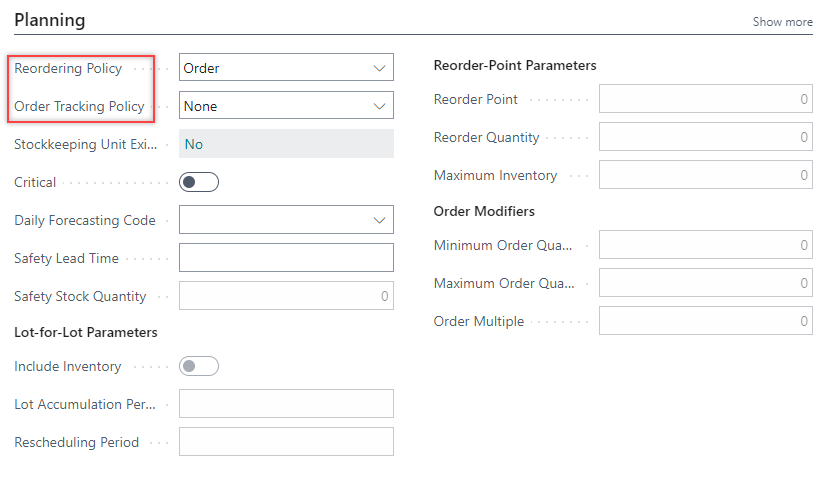
On the Planning FastTab, you can set your Reordering Policy and Order Tracking Policy. You can also specify the information for the Lot for Lot Parameter and Reorder Point Parameters.
- Order Tracking Policy: Specifies if and how order tracking entries are created and maintained between supply and its corresponding demand.
- Reordering Policy: Specifies when and how much to order.
-
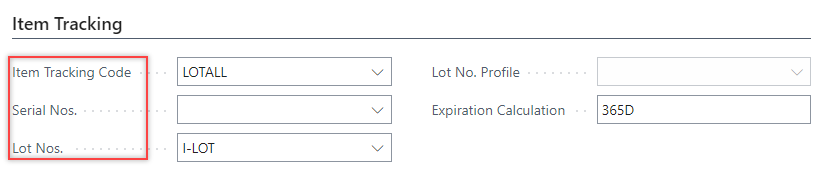
On the Item Tracking FastTab, the required information in the following fields:
- Item Tracking Code: Specifies how serial or lot numbers assigned to the item are tracked in the supply chain.
- Serial Nos. and/or Lot Nos.: Select the numbering series that applies for serial or lot numbers.
-
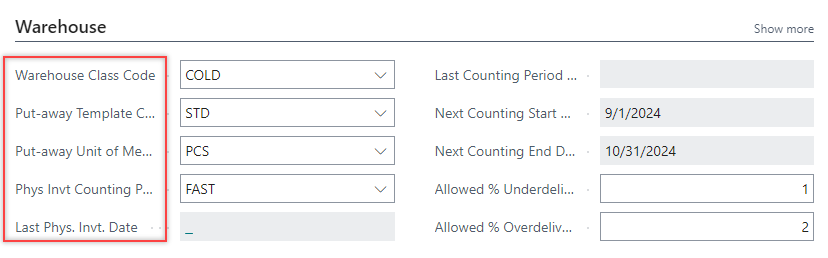
On the Warehouse FastTab, you can define the Next Counting Start Date and Next Counting End Date along with various codes that are as follows:
- Warehouse Class Code: Specifies the warehouse class code for the item.
- Put-away Template Code: Specifies the code of the put-away template by which the program determines the most appropriate zone and bin for storage of the item after receipt.
- Put-away Unit of Measure Code: Specifies the code of the item unit of measure in which the program will put the item away.
- Phys Invt Counting Period Code: Specifies the code of the counting period that indicates how often you want to count the item in a physical inventory.
- Last Phys. Invt. Date: Specifies the date on which you last posted the results of a physical inventory for the item to the item ledger.