Blanket purchase order
Blanket purchase orders are used to manage contracts between you and your vendor in which you are committed to purchase a large amount of goods from the vendor over a specific period. You can set up orders to be received from your vendor in several shipments with a blanket purchase order. In addition, you can maintain your commitments to your vendors and track purchases against those commitments.
Assumptions/System setup considerations
- A procedure intended to reduce spoiling and overstocking while facilitating inventory control.
- When a need for a purchase arises, the buyer will see whether there are any unfulfilled blanket orders before releasing the necessary amount from the blanket order along with the anticipated date of delivery.
- After a quantity is released from the blanket purchase order, a corresponding purchase order will be created to represent this release.
- The vendor will be notified of the shipment request and be given the purchase order number assigned when the purchase order was created.
Create a blanket purchase order
-
Select the Search icon
 , enter Blanket Purchase Orders, and then choose the related link.
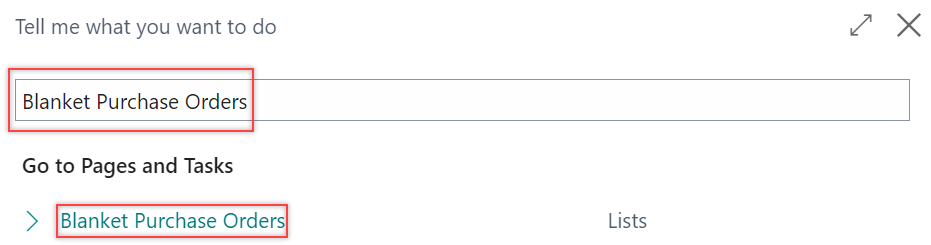
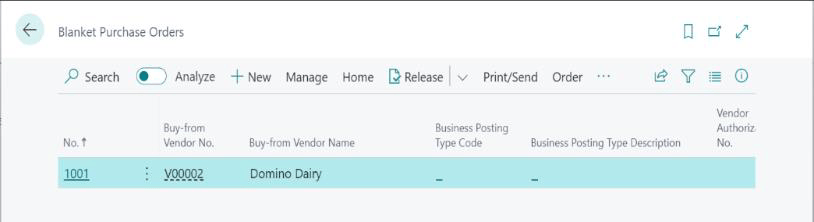
The Blanket Purchase Orders list page opens.
-
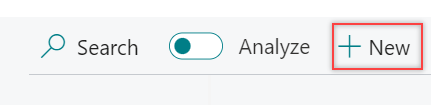
On the action bar, select New.
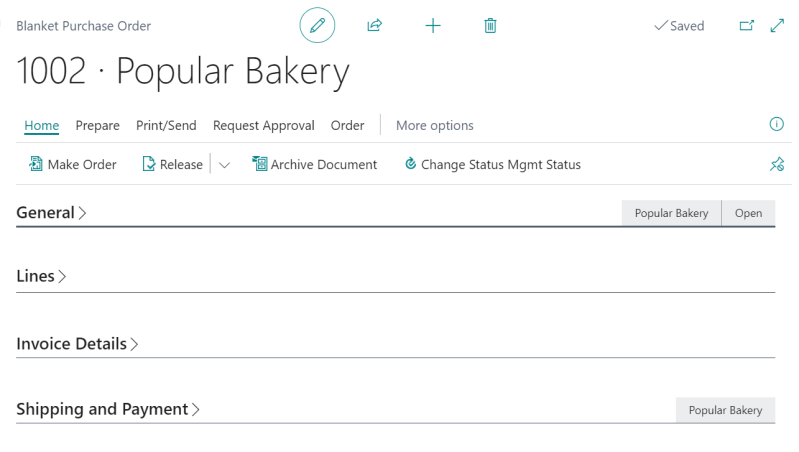
The Blanket Purchase Order card page opens.
-
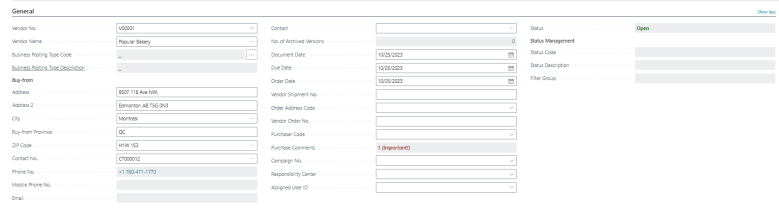
On the General FastTab, enter the required information in the following fields:
- Vendor No.: Select the buy-from vendor number from the vendor list. The fields on the Buy-from section are automatically updated based on this selection.
- Document Date: Ensure that the date of the order is correct. The field is automatically updated with the current date of entry.
- Vendor Shipment No.: Enter the vendor’s shipment number, if the release quantity is for a shipment that has already been shipped. This reference will flow through to the associated released purchase order.
- Order Address Code: Select the ship-from code, if a purchase order is to be shipped from a particular vendor supply location (this is set up on the Vendor Card page).
- Vendor Order No.: Enter the vendor order confirmation number that the vendor uses for the order.
- Purchaser Code: Select the purchaser code (person responsible for this order).
- Status: Indicates whether the document is open or released to the next stage of processing.
-
On the Invoice Details FastTab, enter the required information in the following fields:
- Location Code: Select the location from which the items will be received.
- Shipment Method Code: Select the agreed shipment method from the list.

-
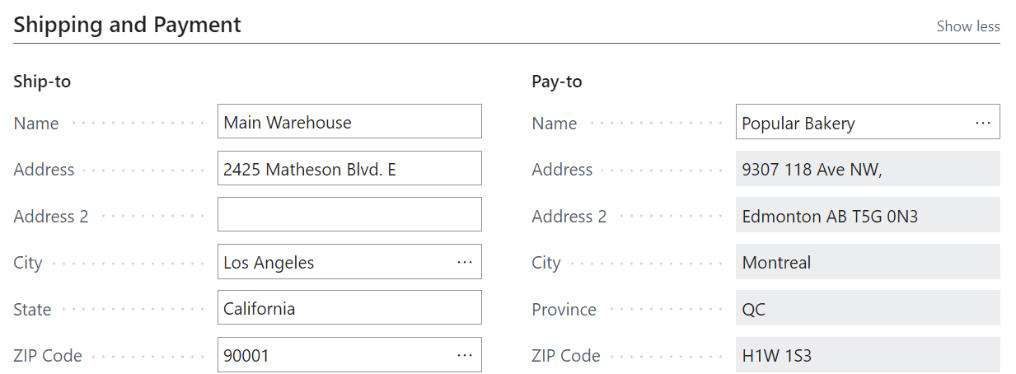
On the Shipping and Payment FastTab, the fields are automatically populated when the vendor is selected. Update the fields on the Ship-to and Pay-to section as required.
On the blanket order, each separate purchase can be set up as an order line, which can then be converted into a purchase order at the time of ordering. You can also opt to have one line for one item with the total quantity and release it partially throughout a period (four lines with quantity set to 100 for each line or one line with quantity set to 400).
-
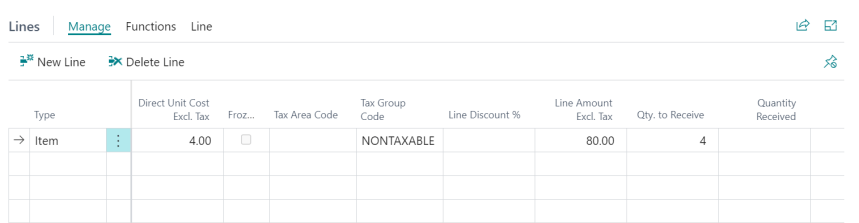
On the Lines FastTab, enter the required information in the following fields:
- Type: Select the purchase line type.
- No.: Enter the item number or applicable number depending on the type selected.
- Description: The value will default from cross-reference or item record data. You can override this value if required to have a description unique to this purchase instance.
- Unit of Measure Code: The value will default from cross-reference or the item card. Change if desired. You can override this value if required.
- Location: Displays the code for the location where the items on the line will be received into. You will need to update this field if the order is not being sent to the same location as defaulted from the header.
- Bin Code: Enter the receiving bin code if required.
- Item-Reference No.: If using item-references to control which items are associated with this vendor, and the vendor’s item numbers, then use the Cross-Reference No. field to select the items being purchased. Otherwise, use the No. field to look up the standard inventory item numbers.
- Quantity: Displays the total quantity to be purchased.
- Direct Unit Cost Excl. Tax: The value should default from the purchase prices setup. Otherwise, it will revert to the last direct cost from the item card or be blank (enter the unit cost excluding taxes in this field).
- Qty to Receive: Enter in the quantity you want for the purchase order you will release.
- Quantity Received: Indicates how many units (pieces, for example) of the item ordered have been received. Each time the line receipt is posted, the program will update the quantity received.
- Quantity Invoiced: Indicates how much of the line has been invoiced. The field is automatically updated when an invoice (or order) is posted and when an order line associated with an already-posted receipt is invoiced.
- Expected Receipt Date: Enter the date you expect the line to be received (if the full line will be received at once).
When you enter line items, the quantity from the value you enter in the Qty. to Release field is automatically entered in the Qty. to Receive field. Remember to enter 0 in the lines that you do not want to purchase when releasing a purchase order.
When you create a purchase order from a blanket purchase order, the new purchase order will be based on the values present in the Qty. to Release field.
-
To release a blanket purchase order, on the action bar, select Home > Release > Release.
This will prevent users from creating changes to the order without reopening it first.
Issue a purchase order
You can create a purchase order from a blanket purchase order, and link a purchase line to a blanket order line. When the lines are linked, the price of the blanket purchase order line is transferred to the purchase order line. You can purchase not more than the quantity mentioned in the linked blanket purchase order line.
-
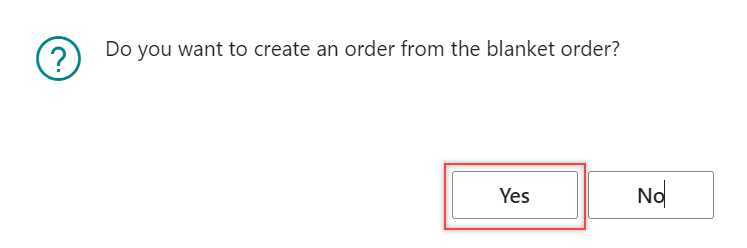
On the action bar, select Home > Make Order.
The system displays a dialog.
You can open and use the blanket order, make purchase orders more than once, and alter the quantity to release each time.
-
Select Yes.
An order is created from the blanket purchase order.

After the purchase order is created from the blanket purchase order, the system updates the value on the Qty. to Receive and Quantity Received fields.
