Dynamics 365 Business Central setup
Dataverse Setup
The registrations made in the Aptean Quality Control (QCL) for Food and Beverage app are saved in Microsoft Dataverse. Before synchronizing the registrations from Dataverse to Dynamics 365 Business central, a connection must be made.
The Dataverse connection setup is standard functionality within Dynamics 365 Business Central and can be done via an assisted setup guide.
There are a few pieces of information that must be ready before creating the connection:
- The URL for the Dataverse environment to connect. If the Dataverse Connection Setup assisted setup guide is used to create the connection, the environments are automatically discovered, but it is also possible to enter the URL of another environment in your tenant.
-
The username and password of an account that has administrator permissions in Business Central and Dataverse.
-
Select the Search icon
 , enter Dataverse Connection Setup and then choose the related link.
 - Click Dataverse Connection Setup.
- Enter the Environment URL for the Dataverse environment to connect to.
- Enter Client Id.
- Enter Client Secret.
- Enter Redirect URL.
This is the URL for the Dynamics 365 Business Central environment that is used for the connection. - Turn on the Enabled toggle.
- Log in with an account that has administrator permissions in Dynamics 365 Business Central and Common Data Service.
After creating the connection with Dataverse, the job queue entries must be created that manage the scheduled synchronization between Dataverse and Dynamics 365 Business Central.
If the Dataverse connection is already enabled, then it is only necessary to execute the function 'Use Default Synchronization Setup' to synchronize the jobs and table mappings for the Quality Control extension.
-
On the action bar, click Actions > Use Default Synchronization Setup.
A dialog box opens displaying the following message: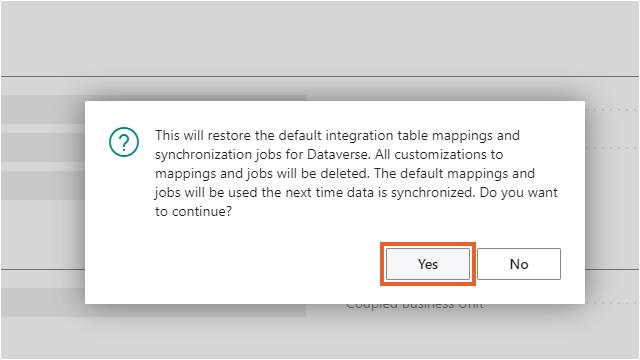
- Click Yes.
- Click OK.
When the synchronization is completed, the job queues are created for the synchronization between Dataverse and Dynamics 365 Business Central.
Show created job queue entries
On the action bar, click Related > Synch. Job Queue Entries.
The created job queue entries are shown. The created job queue entries are recurring jobs with default 5 minutes between the runs. This means that when a value is sent from Dataverse, the value is visible a maximum of 5 minutes later in Dynamics 365 Business Central.