Put
To proceed to the Put phase, click the Toggle option to switch between phases.
The processing routine of the Put phase is identical to the Take phase. The only difference is the specified bin represents the bin into which items will be placed, rather than taken.
To complete the Put phase, follow the below steps:
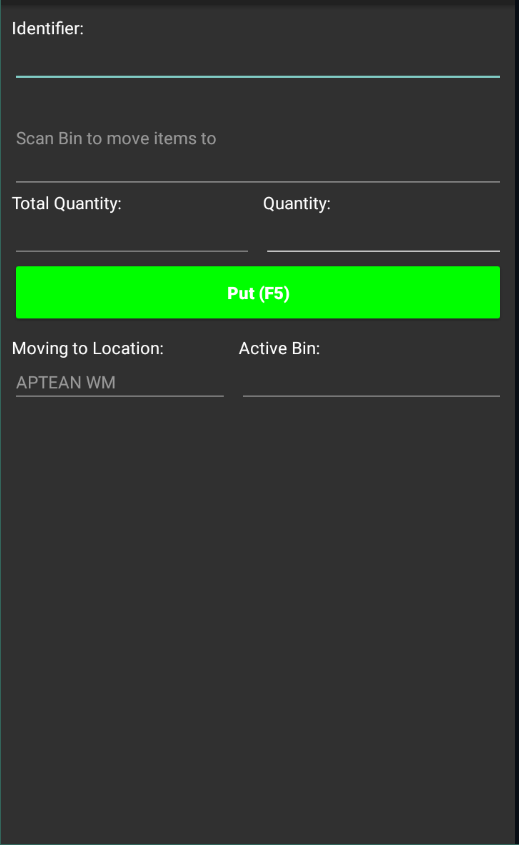
- In the Identifier field, enter or scan the warehouse bin into which items will be moved. The entry in this field must exist as a bin record within the assigned location.
- In the Identifier field, enter or scan the item number that will be moved into the assigned bin. The entered item must be present in the user-specific bin into which items were moved during the Take phase.
- If the item is lot tracked, you must specify the lot number of the item that will be moved in the Identifier field.
- In the Quantity field, enter the quantity of the item that will be moved into the assigned bin. The entered quantity cannot be greater than the amount that is currently stored in the user-specific bin.
- Click the Put (F5) button on the screen or physically press either the Enter or F5 button on the handheld device.
Entered quantities are automatically transferred from the user-specific bin into the assigned warehouse bin. To confirm that the movement has been recorded, the user can click the My Items tab to review the items that are currently stored in his or her user-specific bin. Any recorded put quantities should no longer be included in the bin’s contents. If the My Items tab is empty, there are no pending movements to be recorded by the user. - Repeat the previous steps to move additional items. The Aptean Mobile Warehouse Registration activity will maintain the location and bin code, so that it is possible to move additional items to the same bin. If the item is lot tracked, the item number will also be maintained, allowing for the entry of additional lots. At any time, it is possible to specify other values besides the maintained defaults. For example, if we recorded the movement of items to bin A001 and needed to move other pending items into bin A002, we could enter the new bin code in the Identifier field.
When all items have been moved from the user’s bin, the activity is complete.
If you also use the Aptean Food and Beverage License Plating extension, when handling items that are license plate tracked, after the Take activity is performed, to perform the put activity, enter the bin code to which you must transfer the items along with the license plate number. The items are then transferred from the user-specific bin to the assigned warehouse bin.
Direct movement of the License Plate using the Put action.
You can move the license plate to a new bin without executing the Take action and directly using the Put action based on the Mobile Profile Setup in Business Central.
- In the Move screen, in the Put mode, scan the new bin in the Identifier field.
- Scan the License Plate in the Identifier field.
The License Plate is put-away to the new destination bin.
In Business Central, on the License Plates page, you can see the new Bin Code to which the License Plate is moved.
On the Mobile Scan Entries page, you can check the status of the mobile scan entries made as Transferred and the updated Bin Code. The Warehouse Entries are created.
After scanning the bin in Put mode, you can proceed to scan one or more license plates, transferring them to the previously scanned bin.
Use bin clearance in put mode
On the Mobile Profile Setup page, the Clear active bin after each move in put mode description must be set to Yes value. The system automatically clears the active bin after each movement in put mode. This ensures that warehouse employees must manually scan the bin location before every movement, eliminating errors caused by the system retaining the last scanned bin. If the description is set to No, the system retains the last scanned bin for the next move.
To use bin clearance in put mode, follow these steps:
- Open the Move screen.
- Navigate to the Put mode.
- Scan the destination bin code where the item will be placed.
The active bin is updated. - Scan the license plate number or barcode.
- Confirm the movement.
After the movement, the active bin field is automatically cleared. For the next movement, the user must scan a new bin code before proceeding.