Legacy Software
Setup: On Premise Deployment
Before setting up the Aptean EDI module, the following preliminary activities must be performed.
- Update Business Central License: objects that are specific to the Aptean EDI solution, such as setup tables, pages, and XML ports, exist within their own proprietary object range licensed with Microsoft. This ensures that no object range conflicts will exist with any other customization or add-on. You must obtain the proper license permissions to this object range through your Microsoft Partner.
- Obtain Aptean EDI License Key: in addition to requiring the necessary Business Central licensing, each Aptean EDI instance uses an independently licensed key. Every Aptean EDI license key is tied to the serial number of a specific Business Central license file, making a company’s Aptean EDI license compatible only in environments in which that company’s Business Central license is present. Contact your Dynamics Business Central partner to obtain your Aptean EDI license key.
- SPS Account: if you intend to use your Aptean EDI solution in conjunction with SPS Commerce’s value-added network (recommended), you must set up an account with SPS.
-
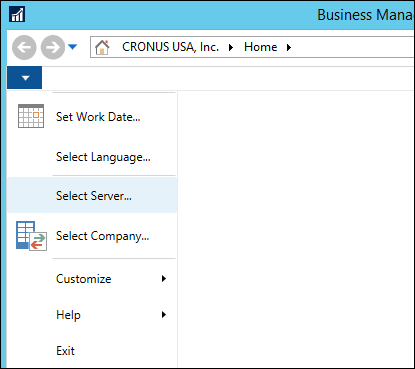
Aptean EDI Handler: you must install a separate integration component called the “Aptean EDI Handler” to facilitate the automatic processing of inbound and outbound EDI messages from an external FTP site. The Aptean EDI Handler must be installed on the Service Tier server processing EDI messages, as well as any machine on which Business Central objects will be compiled. If you are uncertain of which machine hosts the Service Tier, open the Dynamics Business Central client, click the drop-down arrow in the upper left-hand corner of the application and select the Select Server option:
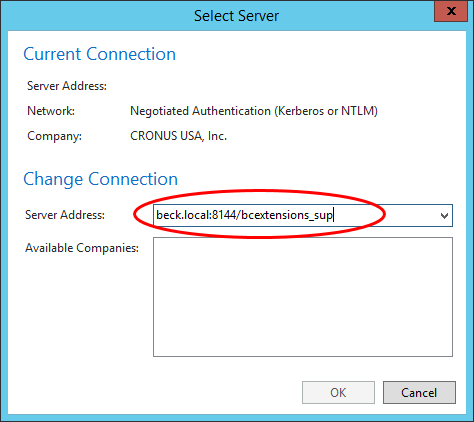
The address of the server on which the Service Tier is running is identified in the **Server Address** field:
Downloading the Aptean EDI Handler presents a setup utility:
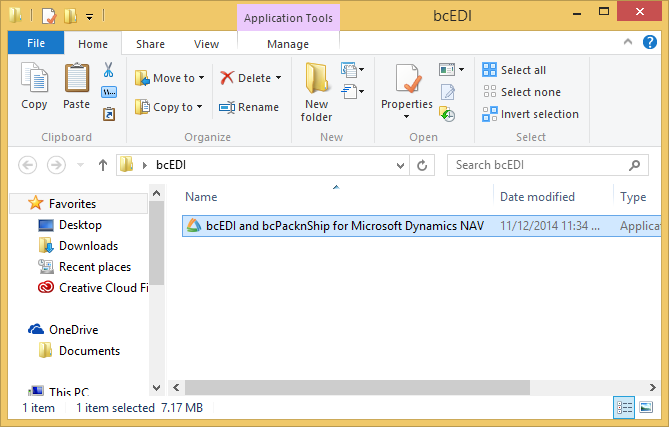
The Aptean EDI Handler is bundled together with the setup utility for Aptean Pack and Ship solution. Aptean Pack and Ship is a separate application, and not included in this documentation.
Running this utility will open a setup wizard.
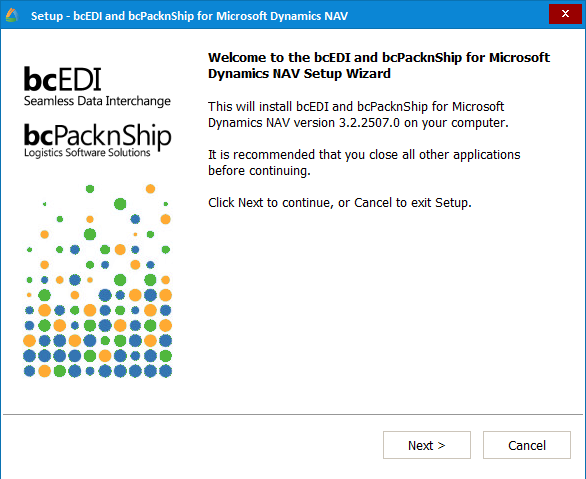
Clicking Next will advance the wizard to a screen prompting you to install the Aptean EDI Handler. The utility will automatically install the Aptean EDI Handler in the appropriate directory.
-
Configurethe Job Queue: the automatic processing of EDI activities can occur viathe Job Queue. Depending on which method will occur within a given environment, one of the following configuration activities must be completed:
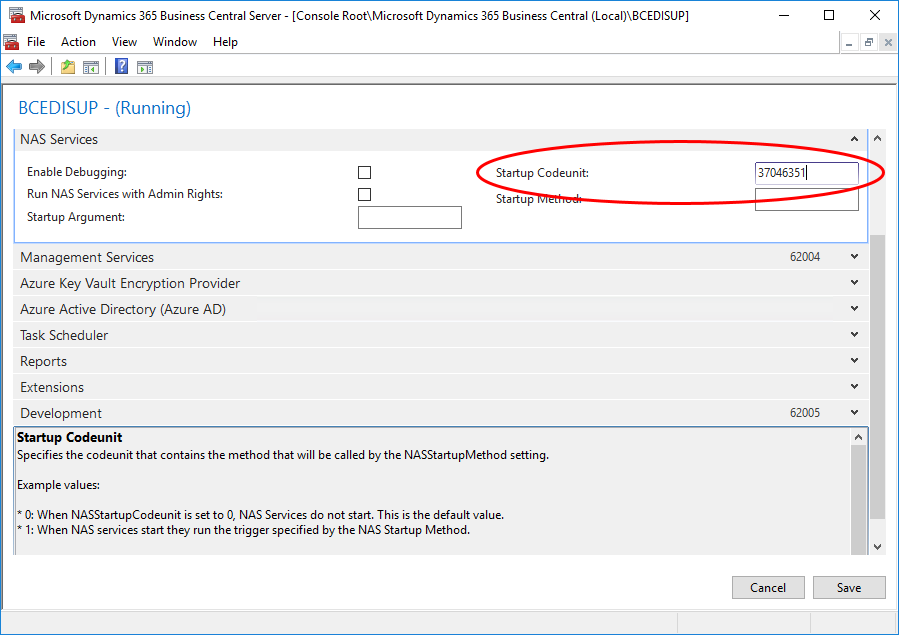
Job Queue : one of the objects that is included as part of the Aptean EDI solution is codeunit 37046351, EDI Job Processing. This codeunit manages the automated, recurring processing of EDI-linked documents, as well as pending inbound and outbound EDI messages. It is necessary to instruct the service on which Job Queue is running to use this codeunit for the management of EDI activities. This can be performed in two ways:
i. You can directly assign the codeunit as the service’s designated startup codeunit. This is performed via the Business Central Administration Center, which is a separate application that can be installed with Business Central. With this application open, you can select the service on which Job Queue is running, then enter the necessary value in the Startup Codeunit field on the Job Queue Services FastTab.
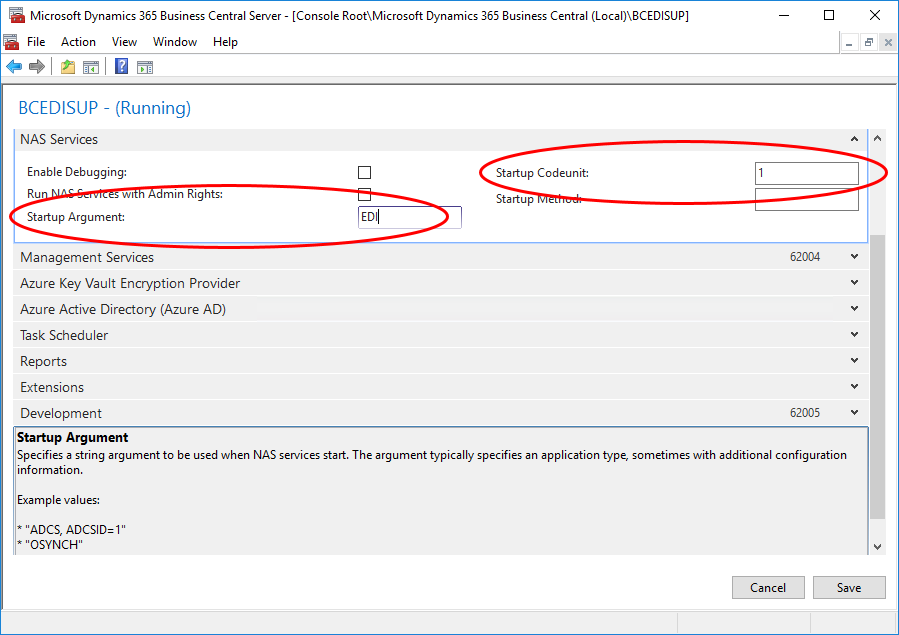
ii.You can assign codeunit 1 (ApplicationManagement) as the service’s designated startup codeunit, then enter a startup argument of EDI.
For more information on configuring Job Queue, click here.
Import/Export EDI Ports
It is possible to import EDI ports that have been defined externally into Business Central. This is especially relevant in environments that are utilizing SPS Commerce as a value-added network, as a number of EDI ports that meet SPS Commerce’s data transfer criteria have been developed and are included as part of Aptean EDI. These predefined SPS Commerce ports are contained as part of Aptean EDI RapidStart package. If RapidStart is being utilized to configure Aptean EDI, the ports will be automatically imported as part of that process. However, in the event that the Aptean EDI RapidStart package is unavailable, or a different set of EDI ports needs to be imported into Business Central, a separate import tool exists within the system.
The Import/Export EDI port functionality is only available with on premise deployments of Aptean EDI.
External EDI ports must be imported from a .txt file. Prior to importing EDI ports, this .txt file should be placed in a directory that is accessible by Business Central.
Any existing EDI port records in Business Central will be overwritten by imported EDI ports.
Follow these steps to import EDI ports:
-
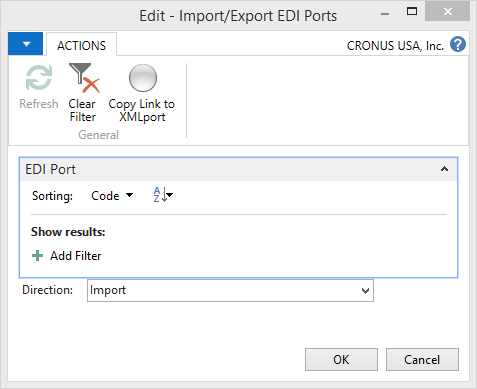
From the Electronic Data Interchange Setup menu, click Import/Export EDI Ports. The Import/Export EDI Ports window appears.
-
In the Direction field, select Import.
- Click OK.
- Browse to the location in which the relevant .txt file is stored.
- Select the file and click Open.
The data from the .txt file is imported, and new EDI port records are created in Business Central.
Some of the imported SPS EDI ports may not have a valid linked XML port (defined on the Format FastTab of the EDI Port card). An invalid XML port indicates that you do not have the appropriate license to use that specific XML port. SPS XML ports are licensed separately from the base Aptean EDI solution.
EDI ports can also be exported from Business Central to a .txt file. This is useful when you have created and tested new ports in a non-production environment and then want to deploy them in production.
Follow these steps to export EDI ports:
-
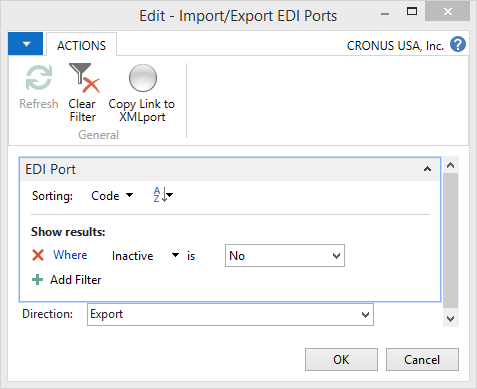
From the Electronic Data Interchange Setup menu, click Import/Export EDI Ports. The Import/Export EDI Ports window appears.
-
Add a filter for the Inactive property, and set the value to No (as displayed in the screenshot above). This ensures that only active EDI ports will be included in the export.
- In the Direction field, select Export.
- Click OK.
- A window asks you if you wish to open or save the file you are going to export. Select Save.
- Browse to the location in which you want to store the new .txt file.
- Specify a file name and click Save.
EDI ports are exported from Business Central into a new .txt file, which is located in the specified directory.