Power Apps
-
Create a Power Apps environment, if not already done. For more information, click here.
In the app, the user can choose the language to use during app runtime.
-
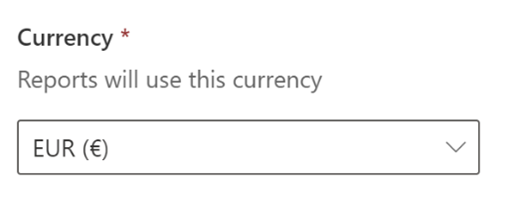
Create the Dataverse database and choose the currency that matches the company currency setup in Business Central.
For more information on the Business Central Dataverse integration, click here.
-
Activate the languages to be used in the environment via the Power Apps Admin Center.
For more information on activating languages, click here.
-
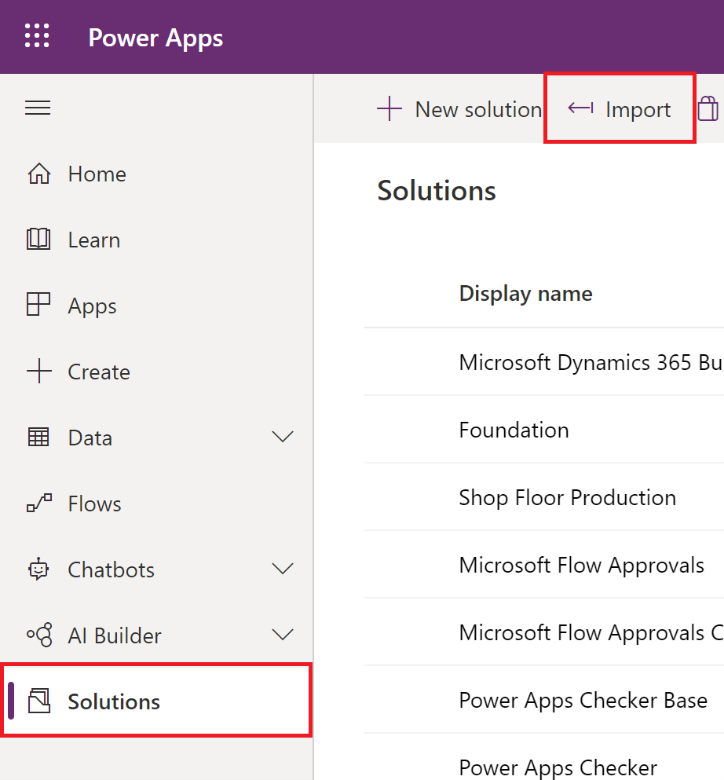
Import the Power Apps Solutions Foundation and Quality Control in the created Power Apps Online environment. Packages (.zip) can be requested by contacting Aptean.
For more information on importing packages, click here.
Foundation is used for all Aptean Power Apps Solutions and only contains the tables for all solutions.
During the import, the connection setup for the Azure Blob Storage Connection is shown.
-
Select the one used in the current environment.
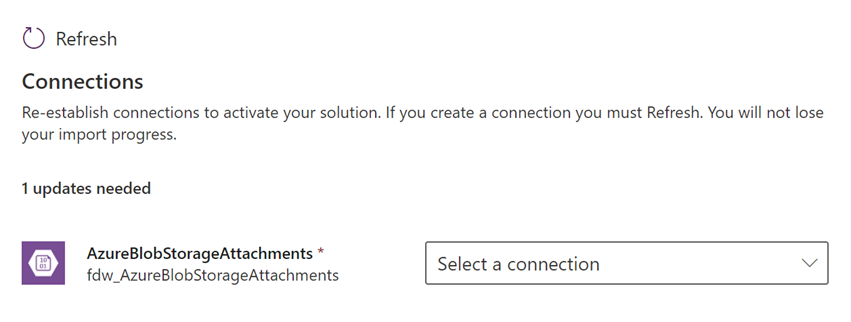
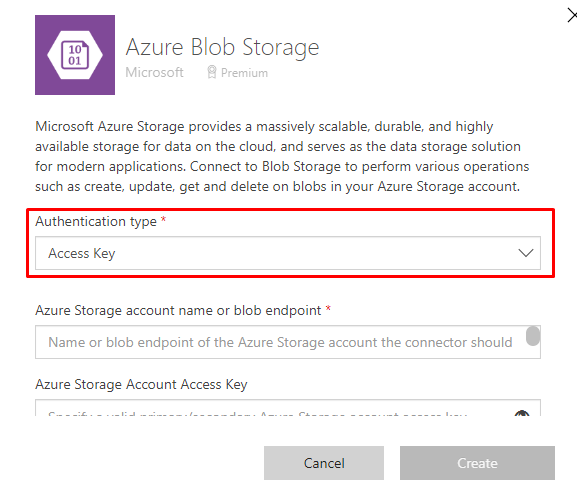
- Select the connection to Azure Blob Storage to be used to link and show Quality Control attachments. If there’s no connection available, create a new one. To do that, select New Connection in the drop-down menu.
- In the Authentication type field, select Access Key from the drop-down menu while creating a connection with the Azure Blob Storage.
After creating the connection, go back to this screen, refresh, and select the created connection in the drop-down.
-
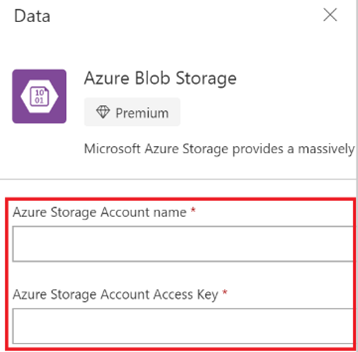
Enter the Azure Storage Account Name and Access Key saved in the steps described above for the connection.
The above connection is now linked to the Connection Reference used in the solution. For more information about connection references, click here.
If the connection reference is already setup in the environment, the value will not be updated (so that it does not overwrite customer specific data) and can only be changed after importing manually by editing the connection reference.
- As instructed in the user documentation, the Azure Blob Storage container used to store files and photos in Quality Control is created with the name attachments.
This is also asked during import for a fresh install:
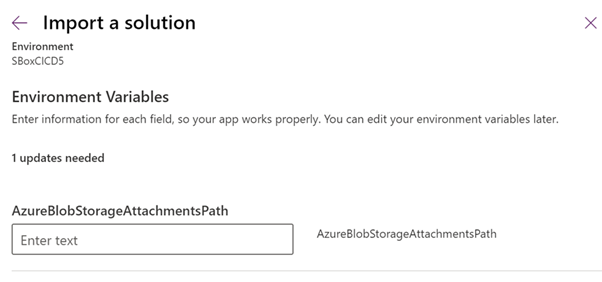
If you used another name, the environment variable AzureBlobStorageAttachmentsPath offers the ability to set your own value. In all other cases, use attachments/ as should have been created when following the instructions.
If the environment variable is already setup in the environment, the value will not be asked or updated (so that it does not overwrite customer-specific data) and can only be changed after importing by manually editing the environment variable:
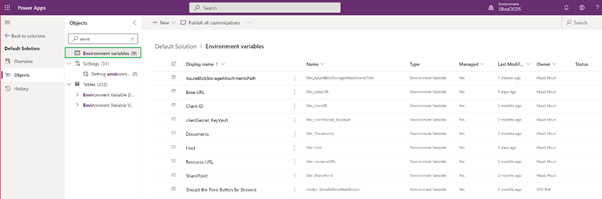
In the Default Solution, search Environment Variables, edit the AzureBlobStorageAttachmentsPath Environment variable and enter your Blob container name to be used as the Current Value. In the example below, the example qualityphotos/ is used instead of attachments/.
Always define the value with / at the end as shown below.
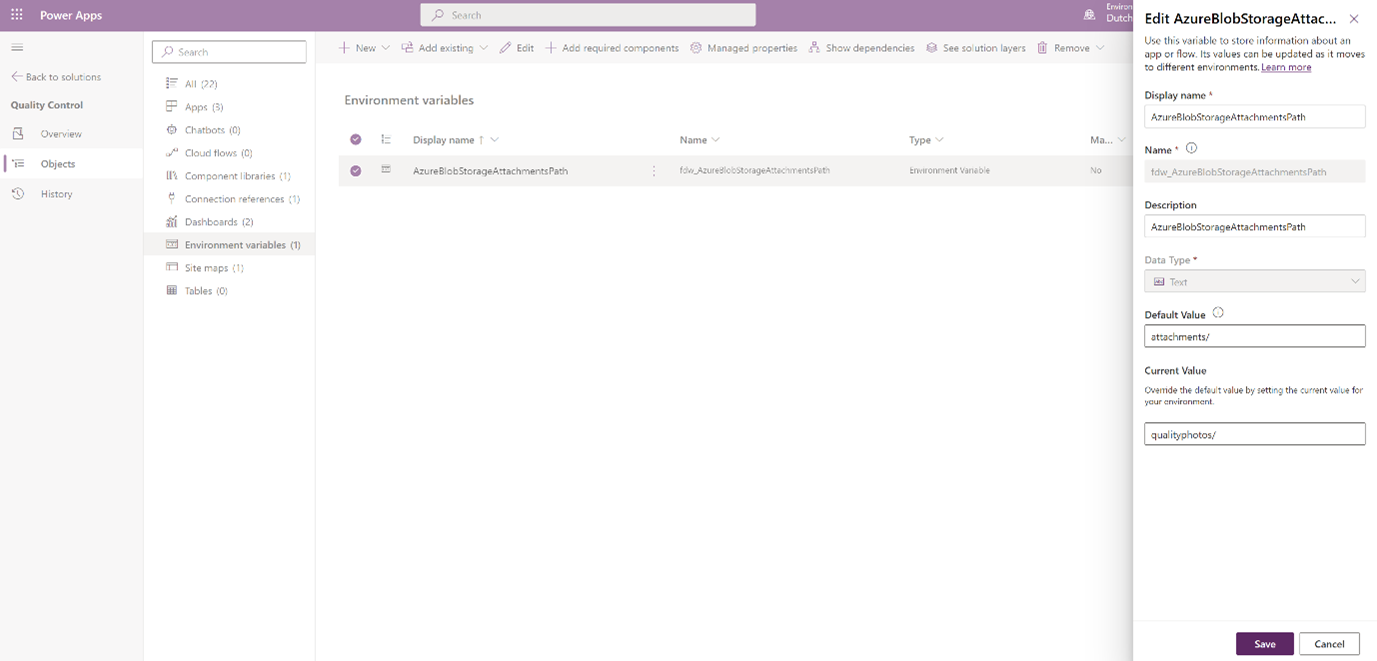
To change an environment variable, go to the Default Solution in your environment, search for Environment variables and select the Environment variable you would like to edit.
-
Save and publish the app.
> [!NOTE]
> Since some values are stored in the cache, it’s advised to reopen the browser after changing connection references or environment variable values. When the app is started, and the old value is still used, the cache refresh can be triggered by pressing CTRL+F5 just after the Canvas App is started. -
Run the app to test it and allow all connections.
-
Repeat the steps described for the other canvas app in the solution. Finally share the Canvas and Model driven app with users that need access to it, otherwise they cannot use the app.For more information on sharing apps, click here.
If you are using the Aptean Quality Control extension, assign the Quality Check Role to those users.
- Select Manage users in the Power Platform admin center to find the users.
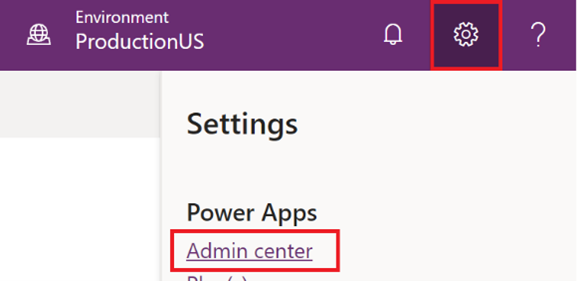
- Select the Power Apps environment.
A new window opens. - Under Users, select See all.
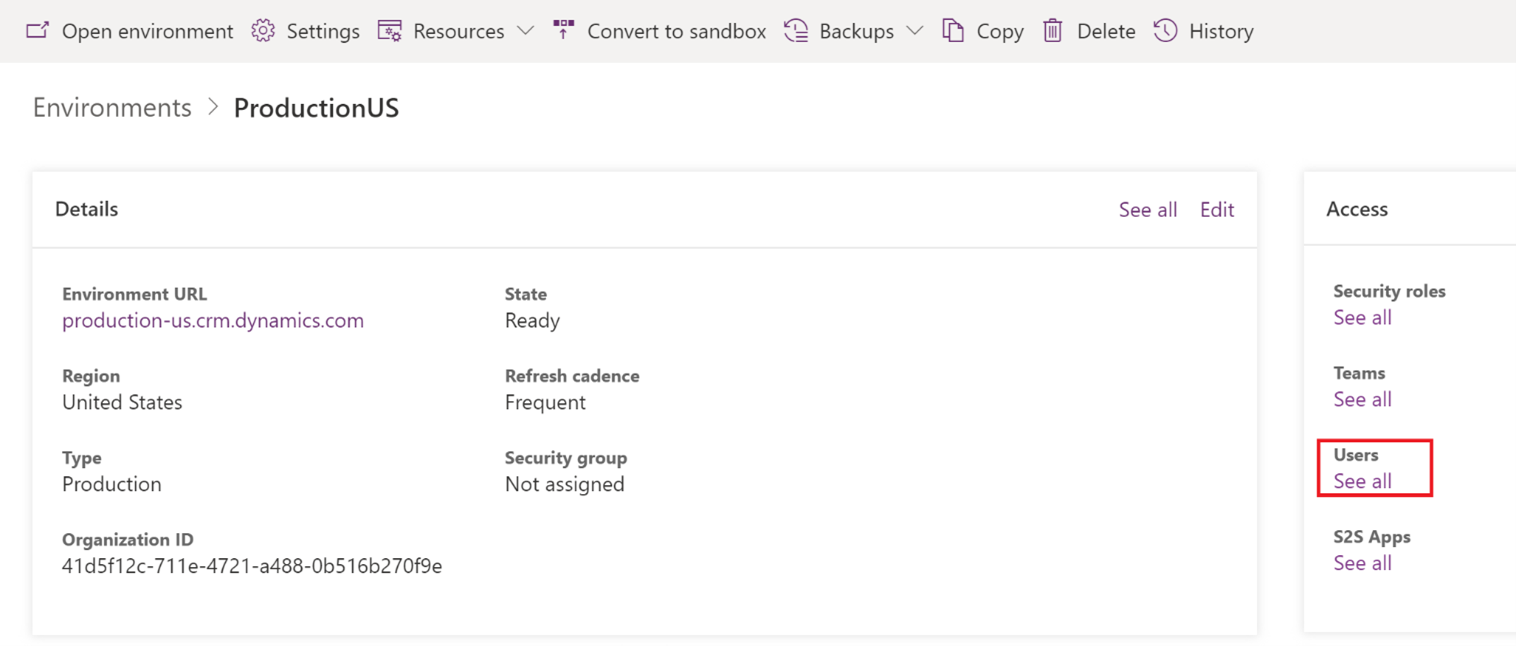
-
Select Manage security roles and check the required role.
For more information on how to setup users and their roles, click here.If you are using the Aptean Quality Control extension, check the QualityCheckUser role.
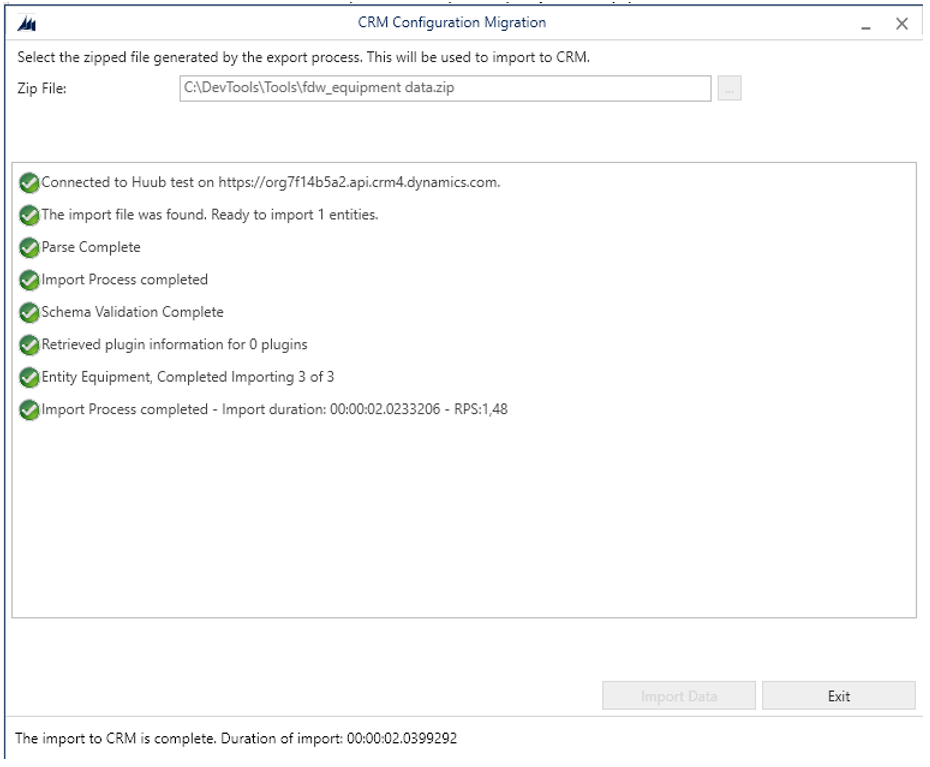
- Execute the data import.
The data package is imported by using the Data Migration Utility.
If you are using the Aptean Quality Control extension, click here to download the Quality Control data package (.zip).
This is part of the XRM Toolkit that can be installed by running the script as described in the installation details in paragraph 3.
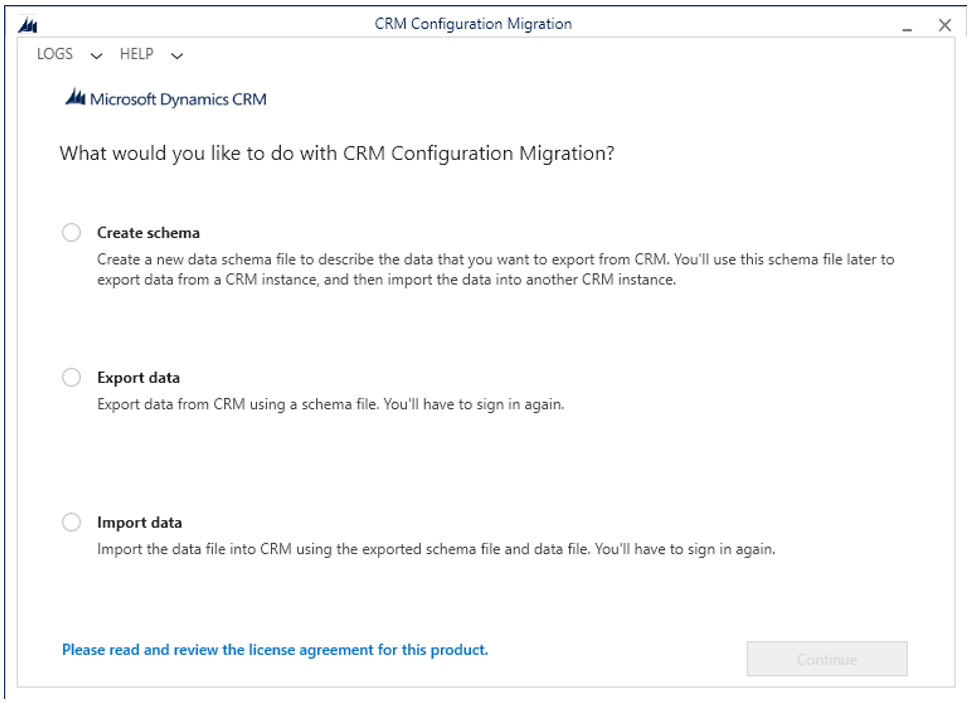
- Start the data migration XRM toolkit.
- Login and open the environment you want to import the data into.
-
Select Import data.
-
Select the data file to import.
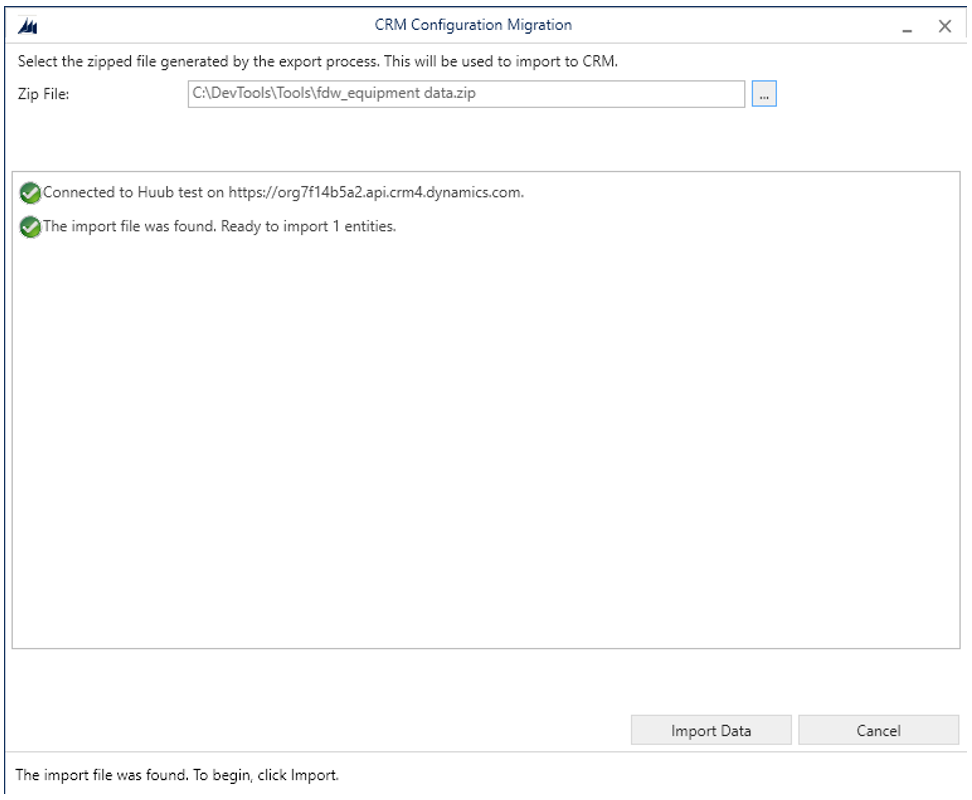
-
Select Import Data to start the import.