Attach files
You can attach documents to source records directly from supported pages using the Attachments FactBox.
-
On the source document, select the document count on the Attachments FactBox to navigate to the Attached Documents page.
-
Enter the required information in the following fields:
| Field | Description |
|---|---|
| Attach a file | Select the file name of the attachment. |
| File Type | Specifies the type of the attached file. |
| File Extension | Specifies the file extension of the attached file. |
| Category Code | Enter the code to group attachments. |
| Attached Date | Specifies the date the file was attached. |
| User | Specifies the user who attached the file. |
| Flow to Purch. Trx | Select the checkbox if the attachment should flow to purchase transactions. |
| Flow to Sales Trx | Select the checkbox if the attachment should flow to sales transactions. |
| Flow to Service Trx | Select the checkbox if the attachment should flow to service transactions. |
-
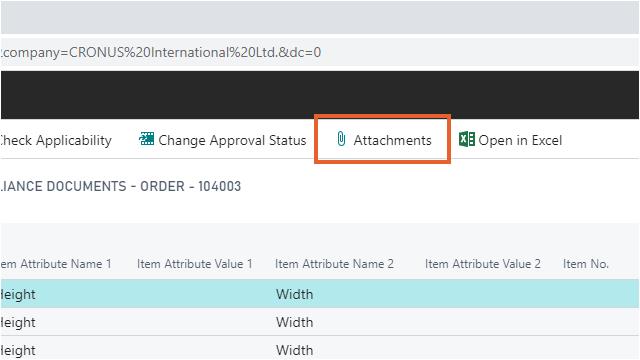
On the action bar, select Attachments.
The Attachments page opens.
-
In the Attachment field, click Select File.

A dialog box, Select a File to Upload opens.
-
Select Choose and select the file.
The Attachments page shows information about the file name, file extension, file type, the user who has attached the file and the date/time.
To download the attached file
- Navigate to the desired line.
-
In the Attachment field, select the link to download the attached file.

Alternatively, on the action bar, select Preview.

A file (with the same filename) can be linked multiple times to one or more entities.
To delete the attached file
The attached file can be deleted as well.
- Navigate to the desired line.
-
On the action bar, select Manage > Delete.

A dialog box appears with the message, Go ahead and delete?.
- Select Yes.
- Select OK in the File is deleted dialog box.
The file is now deleted from Dynamics 365 Business Central and Azure Storage. When deleting a file that is attached to multiple entities and therefore has the same Globally Unique Identifier (GUID), the file will not be deleted from Azure Storage. The file will only be deleted from Azure Storage when the last attachment on Dynamics 365 Business Central is also deleted.