Setup: Preliminary Steps
Aptean EDI
•
Article
•
4/29/2023
•
3 min
Before setting up the Aptean EDI module within Business Central, the following preliminary activities must be performed.
- SPS Account: You must use your Aptean EDI solution in conjunction with SPS Commerce’s value-added network (which is recommended). To set up an account with SPS, click here. To add SPS TAPI 2.0 support for OAuth 2.0, click here.
- Aptean Azure Connector: This functionality enables the user to connect to Microsoft Azure Storage Explorer thus providing the capability to exchange files between Business Central and Azure Storage Explorer.
- Obtain an Aptean EDI License: You can request a license from Dynamics 365 Business Central by typing "EDI Setup" into the search feature. On the EDI Setup window, click the Licensing ribbon and select Request Trial License. Business Central will open a License Activation page. Here, you must enter basic contact information, including an e-mail address. When you have finished filling out this form and click OK, the application will automatically assign a license in the License Key field.
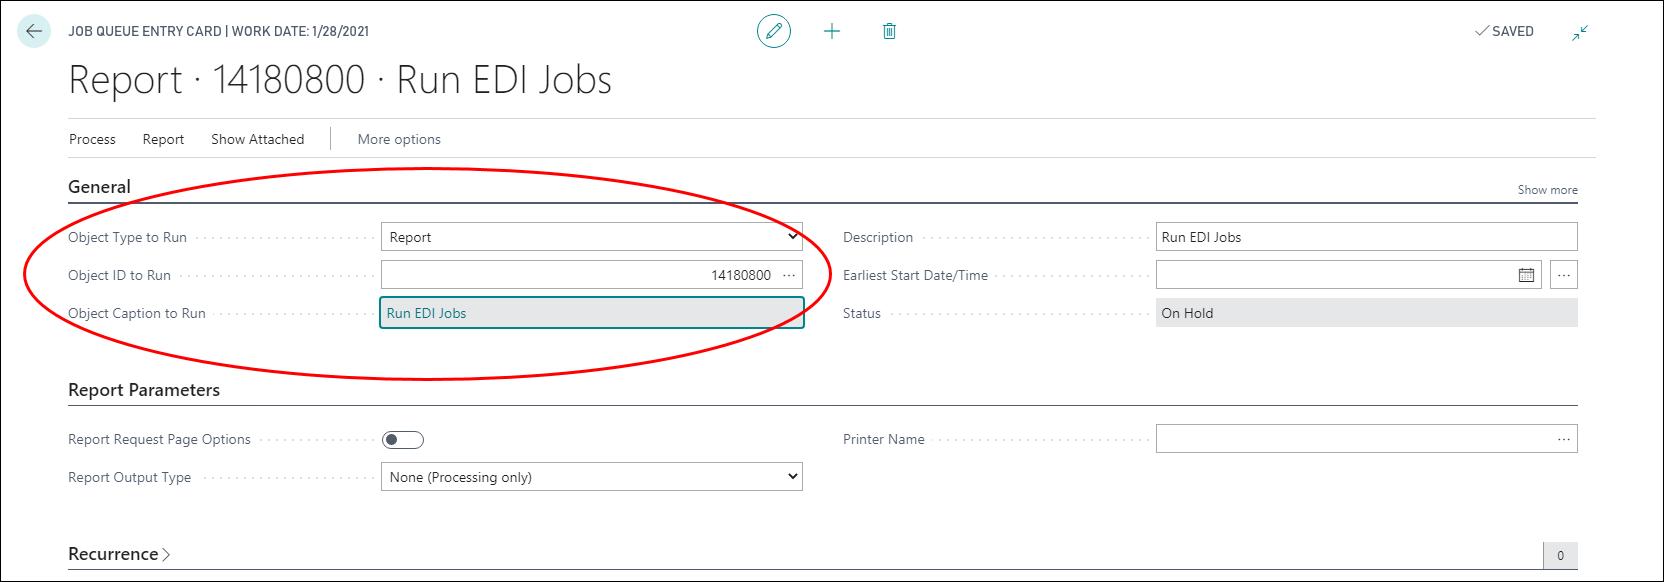
- Configure the Job Queue: the automatic processing of EDI activities occurs via the Job Queue. One of the objects that is included as part of the Aptean EDI solution is report 14180800, Run EDI Jobs. This report can be assigned to a job queue entry that will be used to manage the automated, recurring processing of EDI-linked documents, as well as pending inbound and outbound EDI messages. This is performed by setting up a new job queue entry record in Dynamics, indicating that the entry will run a report, then entering the necessary value in the Object ID to Run field:
For more information on configuring the Job Queue, click here.