Create routings and routing versions
Companies use routings to visualize and direct the manufacturing process. Routings serve as the foundation for process scheduling, capacity, process requirements of the manufactured item, and the creation of manufacturing documents. Routing versions are used to represent variations in a routing's structure, including the ability to control which version is active based on its starting date. This document is a walkthrough of how to create routings and versions of a routing.
Create routings
-
Select the Search icon
 , enter Routings and then choose the related link.
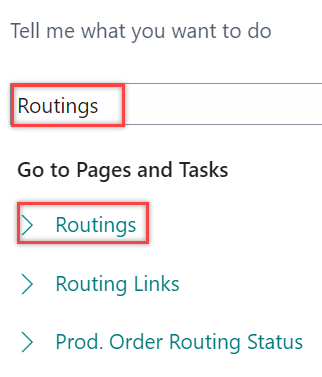
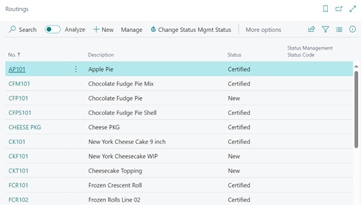
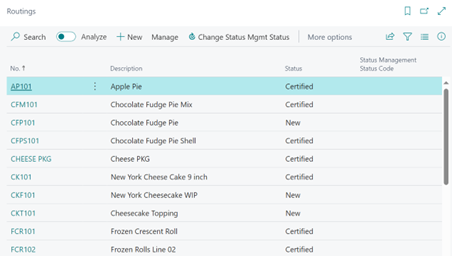
The Routings page opens.
-
On the action bar, select New.

The Routing card page opens.
-
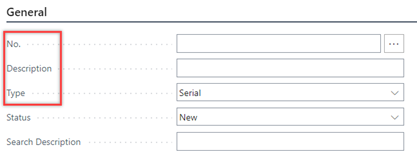
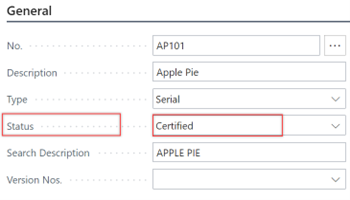
On the General FastTab, in the No. field, you can either enter the number manually or select the automatic numbering through a number series setup.
-
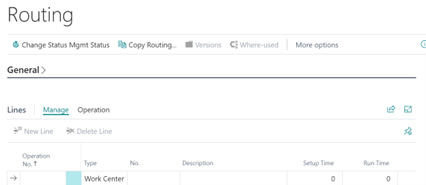
If it’s more efficient to copy from an existing routing, then on the action bar, select Copy Routing to copy lines from an existing routing.
If you use this action, steps 5 to 7 are either unnecessary or can be considered to make changes to the existing data.
-
In the Description field, enter the text that describes the purpose and nature of the routing.
-
In the Type field, select either of the following:
- Serial: When this type is selected, each operation is performed one at a time, with the next operation starting only after the previous one is completed.
- Parallel: When this type is selected, multiple operations that are not dependent on each other can be performed simultaneously.
Serial type calculates the production routing according to the value in the Operation No. field and Parallel type calculates the operations according to the value in the Next Operation No. field.
-
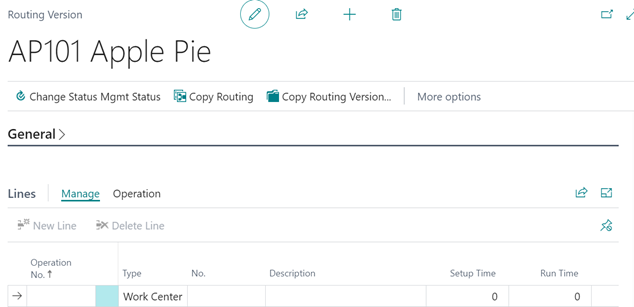
On the Lines FastTab, enter/select the following fields:
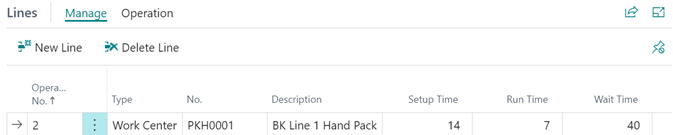
- In the Operation No. field, enter the number of the first operation.
Consider using a consistent Operation No. field value where appropriate in business processes. For example, use 99 to represent the last step in all routings. This allows the operation number to serve as a filter when posting multiple orders at once, ensuring only the last operations are included.
- In the Type field, specify whether you want to use a work center or a machine center.
- In the No. field, select the resource from the dropdown.
- In the Lot Size field, enter the production quantity that coincides with the Run Time to match the throughput for this routing. For example, if the throughput is 20 units per minute, you can set the Lot Size to 20 and the Run Time to 1.
- In the Run Time and Setup Time fields, enter the process times needed to perform the operation.
The run time works with the lot size to determine the production time for this operation. The setup time is a one-time calculation of additional time required for this operation, regardless of the quantity.
- In the Unit Cost per field, specify how many units of the selected resource are used to perform the operation.
This is applicable only when the Specific Unit Cost toggle on the respective work center or machine center is turned on.

- In the Operation No. field, enter the number of the first operation.
-
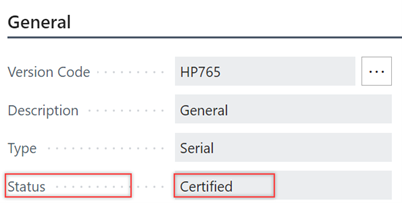
On the General FastTab, once all lines have been set up correctly, in the Status field, change the status from New or Under Development to Certified to certify the routing.
The routing is created and certified.
Create routing version
-
Select the Search icon
, enter Routings, and then choose the related link.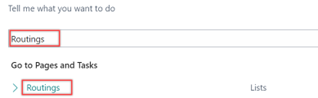
The Routings page opens.
-
Select the routing for which you want a related version, and then on the action bar, select Related > Routing > Versions.
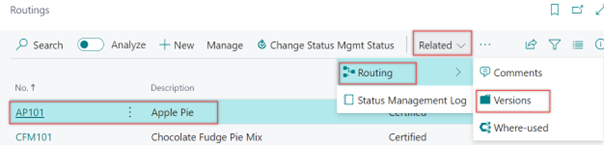
The Routing Version List page opens.

-
On the action bar, select New.

The Routing Version page opens.
-
If it’s more efficient to copy from an existing routing, on the action bar, you can directly select Copy Routing action to copy an existing routing to quickly create a similar BOM or Copy Routing Version to copy an existing routing version to quickly create a similar routing.
If you use this action, steps 5 and 6 are either unnecessary or can be considered to make changes to the existing data.Before using the copy function, ensure that the Version Code field is established.
-
On the General FastTab, enter/select the following fields:
- Version Code - Enter or select the required code.
- Description - Enter the explanatory text.
- Type - Select either Serial or Parallel.
- Starting Date - Select the date.

-
On the Lines FastTab, fill in the required fields as per the changes you need to implement.
-
After filling in the fields, on the General FastTab, in the Status field, change the status from New or Under Development to Certified to certify the version.
A routing version with a certified status can only be used in production orders.
The version is created and certified.